SwitchyOmega Guide: Proxy Configuration and Alternatives
In everyday browsing, cross-border operations, or data-related work, it is often necessary to switch between different proxy IPs. Manually changing system network settings each time is not only inefficient but also prone to errors. SwitchyOmega is a browser extension designed to simplify this process.
This guide covers the key features of SwitchyOmega, its current maintenance status, and provides a detailed setup guide along with alternative solutions.
What is SwitchyOmega?
SwitchyOmega is a free and open-source browser proxy extension designed to manage and quickly switch between multiple proxy configurations.
Key Features:
Multi-profile management: You can create multiple proxy profiles, each with specific settings such as protocol (HTTP, HTTPS, SOCKS5), server address, port number, and authentication details.
Quick switching: Easily switch between different proxy modes (Direct, Auto Switch, or a specific proxy) with a single click from the browser toolbar.
Rule-based switching: Set up rules to automatically choose which proxy profile to use based on the URL or domain. For example, you can route traffic through a proxy for certain international websites while keeping local sites on a direct connection.
Authentication support: Supports both username/password authentication and IP whitelisting, ensuring only authorized users can access the configured proxy.
From SwitchyOmega to ZeroOmega
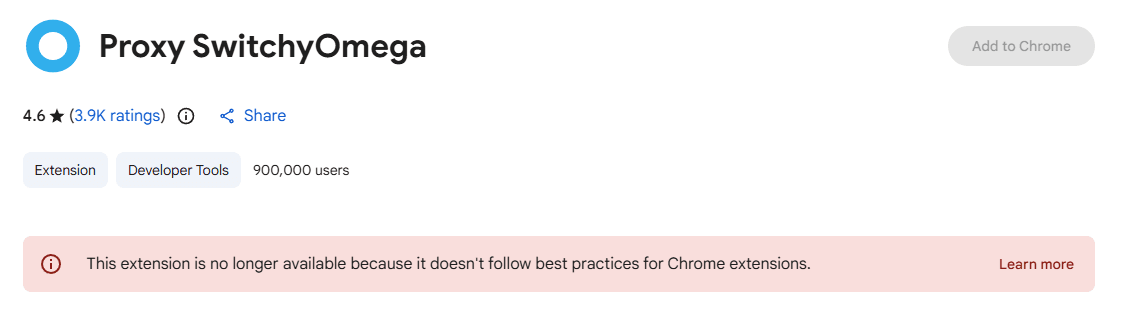
Before getting started, it's important to note that the original SwitchyOmega is no longer actively maintained.
With Google Chrome enforcing the Manifest V3 (MV3) standard and dropping support for Manifest V2 extensions, the original SwitchyOmega has been disabled or removed in newer Chrome versions (such as 133+). The original developer, FelisCatus, has confirmed that they will not be migrating the extension to MV3.
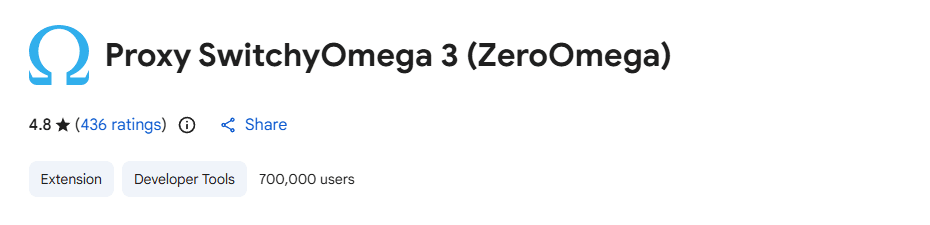
Solution: The most widely recommended alternative today is ZeroOmega.
ZeroOmega retains the original interface and user experience while being fully compatible with the MV3 standard, allowing users to transition seamlessly. The following steps apply to ZeroOmega.
How to Install and Get Started
1. Installation
For Chrome users: It is recommended to install ZeroOmega (or Proxy SwitchyOmega 3) directly from the Chrome Web Store.
If you cannot access the store due to network restrictions, you can download the .crx file from GitHub for offline installation. However, note that extensions installed this way will not receive automatic updates.
How to Configure a Proxy Profile
1. Open the Options page: After installation, the page may open automatically. If not, click the extension icon in the top-right corner of your browser and select “Options” to access the configuration panel.
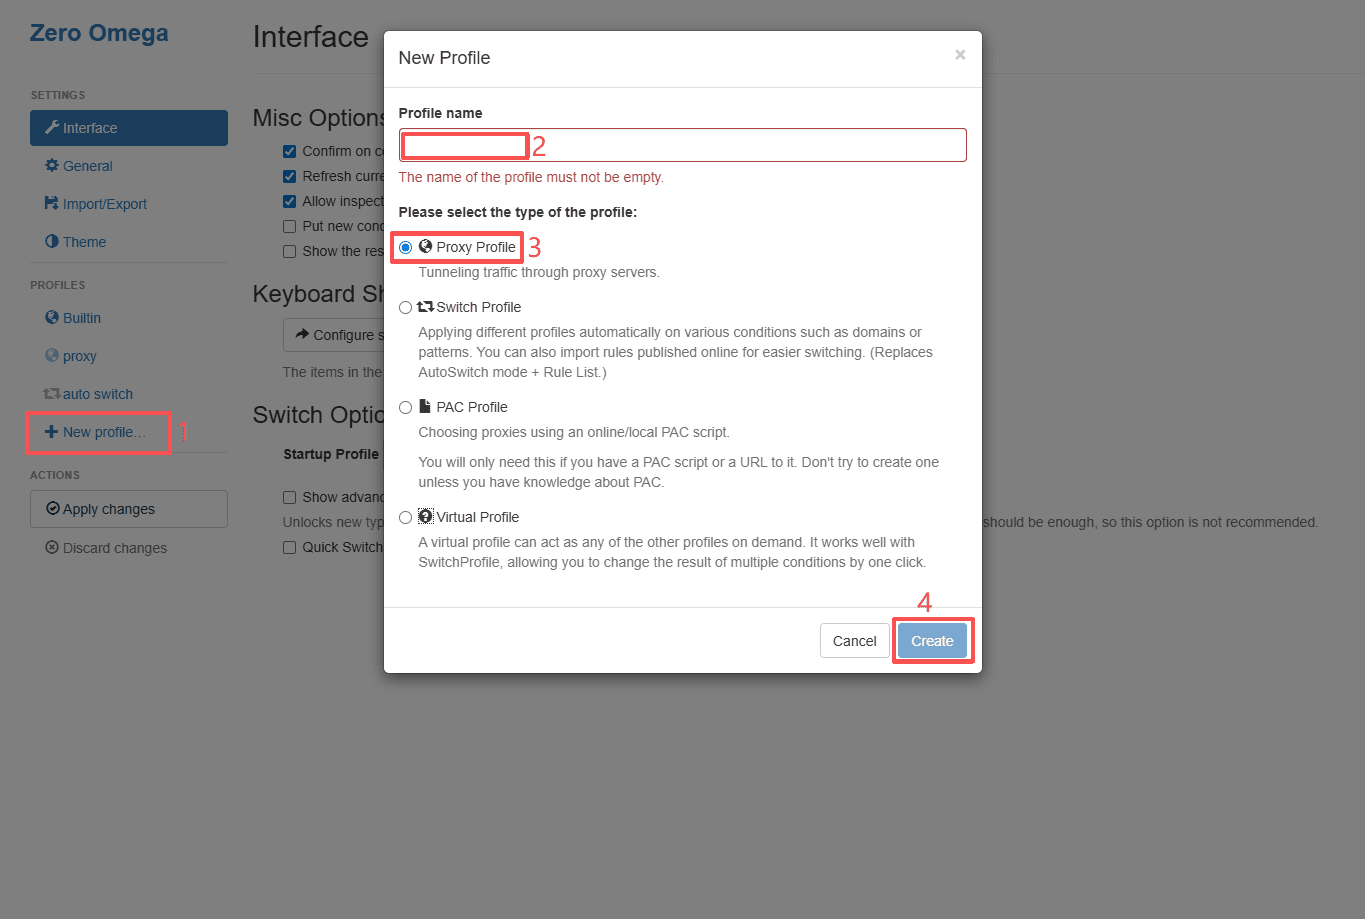
2. Create a new profile: Click the “New Profile” button in the sidebar.
3. Set name and type: Enter a recognizable name (e.g., “Work Proxy”), select “Proxy Profile” as the type, and click “Create.”
4. Enter proxy details:
· Protocol: Choose HTTP, HTTPS, or SOCKS5 based on your proxy provider’s requirements【5】.
· Server & Port: Enter the address of the proxy server (e.g., proxy.ipdeep.com)【6】 and the corresponding port number (e.g., 1234)【7】.
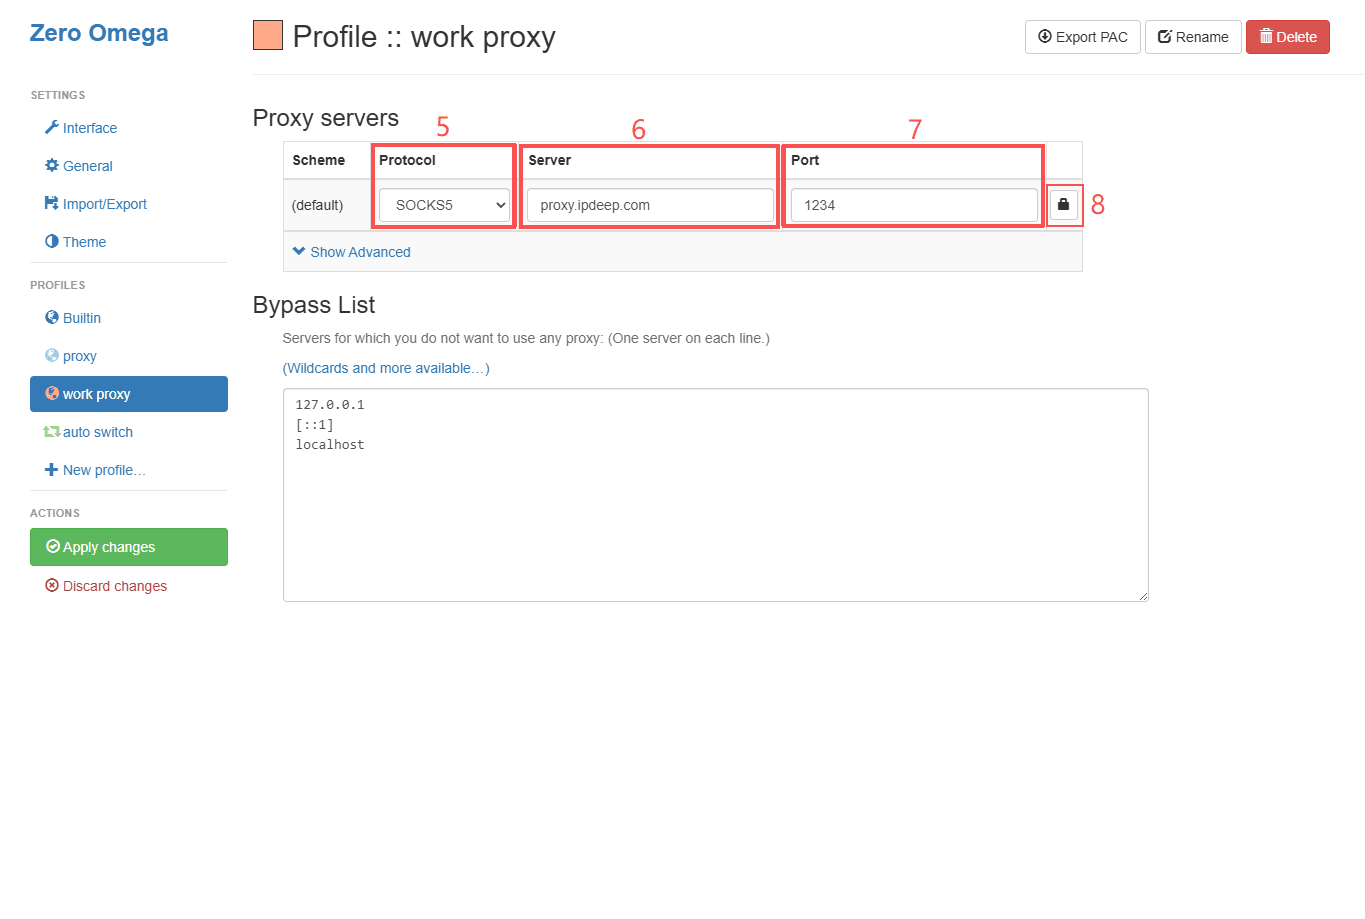
5. Authentication (Optional): If your proxy requires a username and password, click the lock icon next to the port【8】, enter your credentials, and save the settings.
Note: Chrome does not natively support username/password authentication for the SOCKS5 protocol. If you are using a SOCKS5 proxy, it is recommended to use IP whitelisting provided by your proxy service.
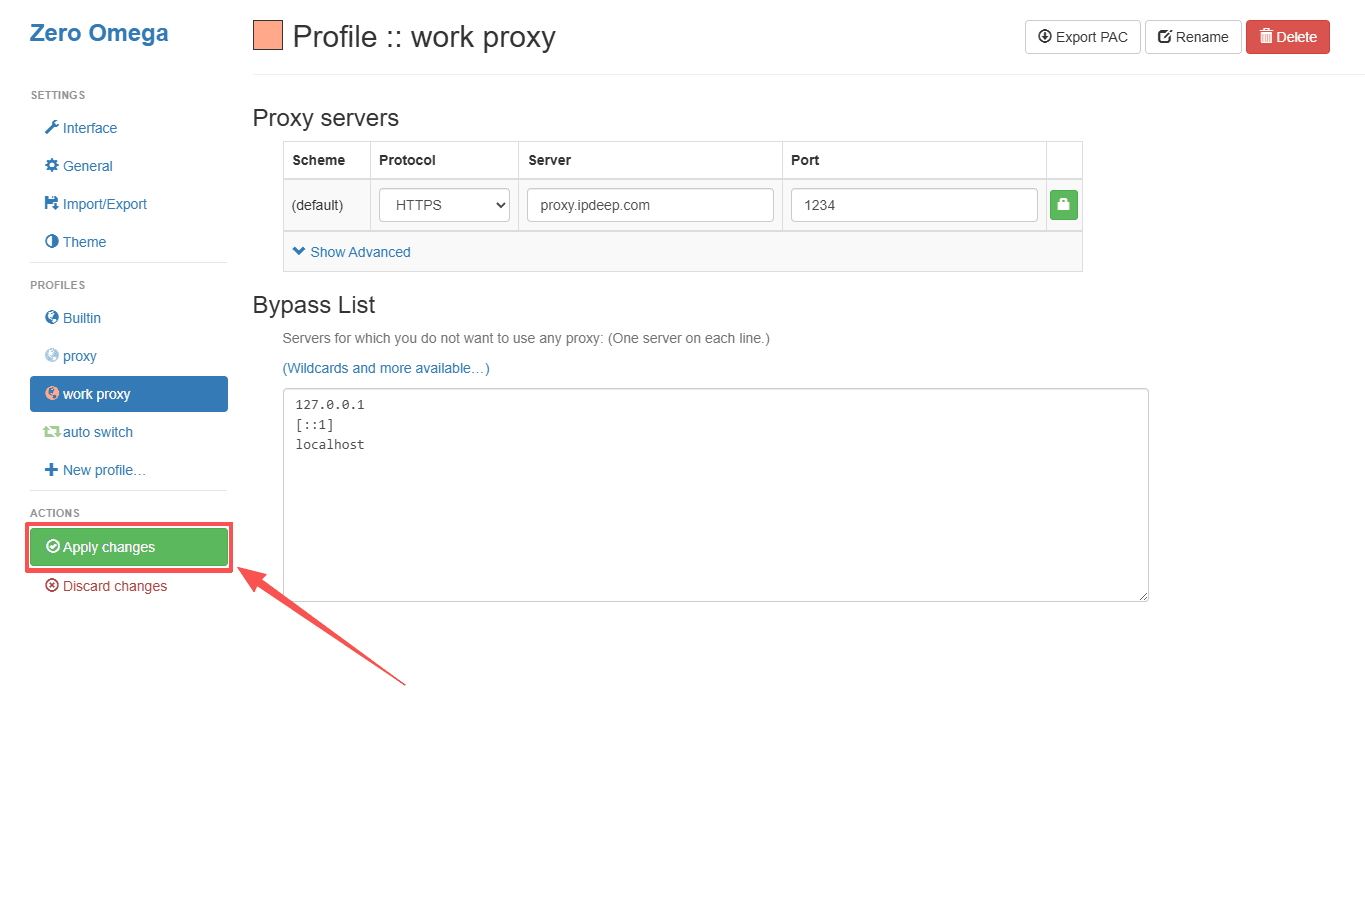
6. Apply Changes: Once you’ve completed the configuration, be sure to click “Apply Changes” in the sidebar to make your settings take effect.
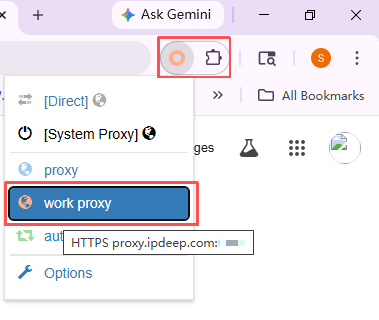
7. Start Using: Click the extension icon in the top-right corner of your browser and select the proxy profile you just configured.
Common Issues & Troubleshooting
Even with a correct configuration, you may occasionally encounter connection issues. Try the following steps:
Check proxy configuration: Make sure the IP address, port, and protocol are correct.
Switch mode: Try switching to “Direct Connection” in the menu. If the internet works, the issue likely comes from the proxy server or configuration. If not, it may be a local network issue.
Authentication issues: Some proxy providers periodically reset tokens. Try re-entering your username and password.
Cache issues: The browser may reuse old IP data. Try clearing your cache or using incognito mode to test.
Common Proxy Error Codes
ERR_PROXY_CONNECTION_FAILED: The proxy server address or port is incorrect, or the proxy server is down.
ERR_TUNNEL_CONNECTION_FAILED: This typically occurs with HTTPS proxies and may be caused by the proxy not supporting tunneling or SSL verification issues.
407 Proxy Authentication Required: The most common issue—incorrect username/password, or your IP is not authorized in the proxy whitelist.
ERR_NO_SUPPORTED_PROXIES: Usually caused by conflicts between multiple proxy extensions. It is recommended to keep only one enabled.
For more error code explanations, see: IPDeep Proxy Error Code Guide
Conclusion
SwitchyOmega simplifies what would otherwise be a complex and time-consuming network switching process, improving your overall browsing experience.
Although the original project is no longer actively maintained, the open-source community has kept it alive through alternatives like ZeroOmega, ensuring it remains usable in modern browsers.
Note: SwitchyOmega itself does not provide proxy services—it is simply a management tool. To ensure both security and performance, it’s important to choose a reliable proxy provider and avoid using untrusted free proxies.
IPDeep provides high-quality proxy IPs, including:
Along with many other types, offering over 10 million high-quality IPs across 200+ countries and regions worldwide. Sign up today and start your free trial.