How to Bind IPDEEP Proxy IPs to the AdsPower Anti-Detect Browser?
In scenarios such as cross-border e-commerce, multi-account operation, and ad targeting, account association is an unavoidable challenge. Once a platform detects that multiple accounts originate from the same environment, it may impose minor restrictions on account functions and even permanent account suspension in severe cases. Therefore, the combination of Proxy IP + Fingerprint Browser has become a standard solution for multi-account management.
Proxy IP primarily addresses network-layer identity issues, while fingerprint browsers isolate browser fingerprints from the local environment. Common fingerprint browsers on the market include Bit Browser and AdsPower. Among them, AdsPower is widely adopted by cross-border sellers and operation teams for its user-friendly interface and stable environment.
There are numerous proxy IP providers, such as IPDEEP, Smartproxy, IPIDEA, and IPIPGO. In this guide, we will use IPDEEP's proxy IP as an example to demonstrate the detailed steps for binding proxy IP to a fingerprint browser (AdsPower).
I. Purchase Proxy IP
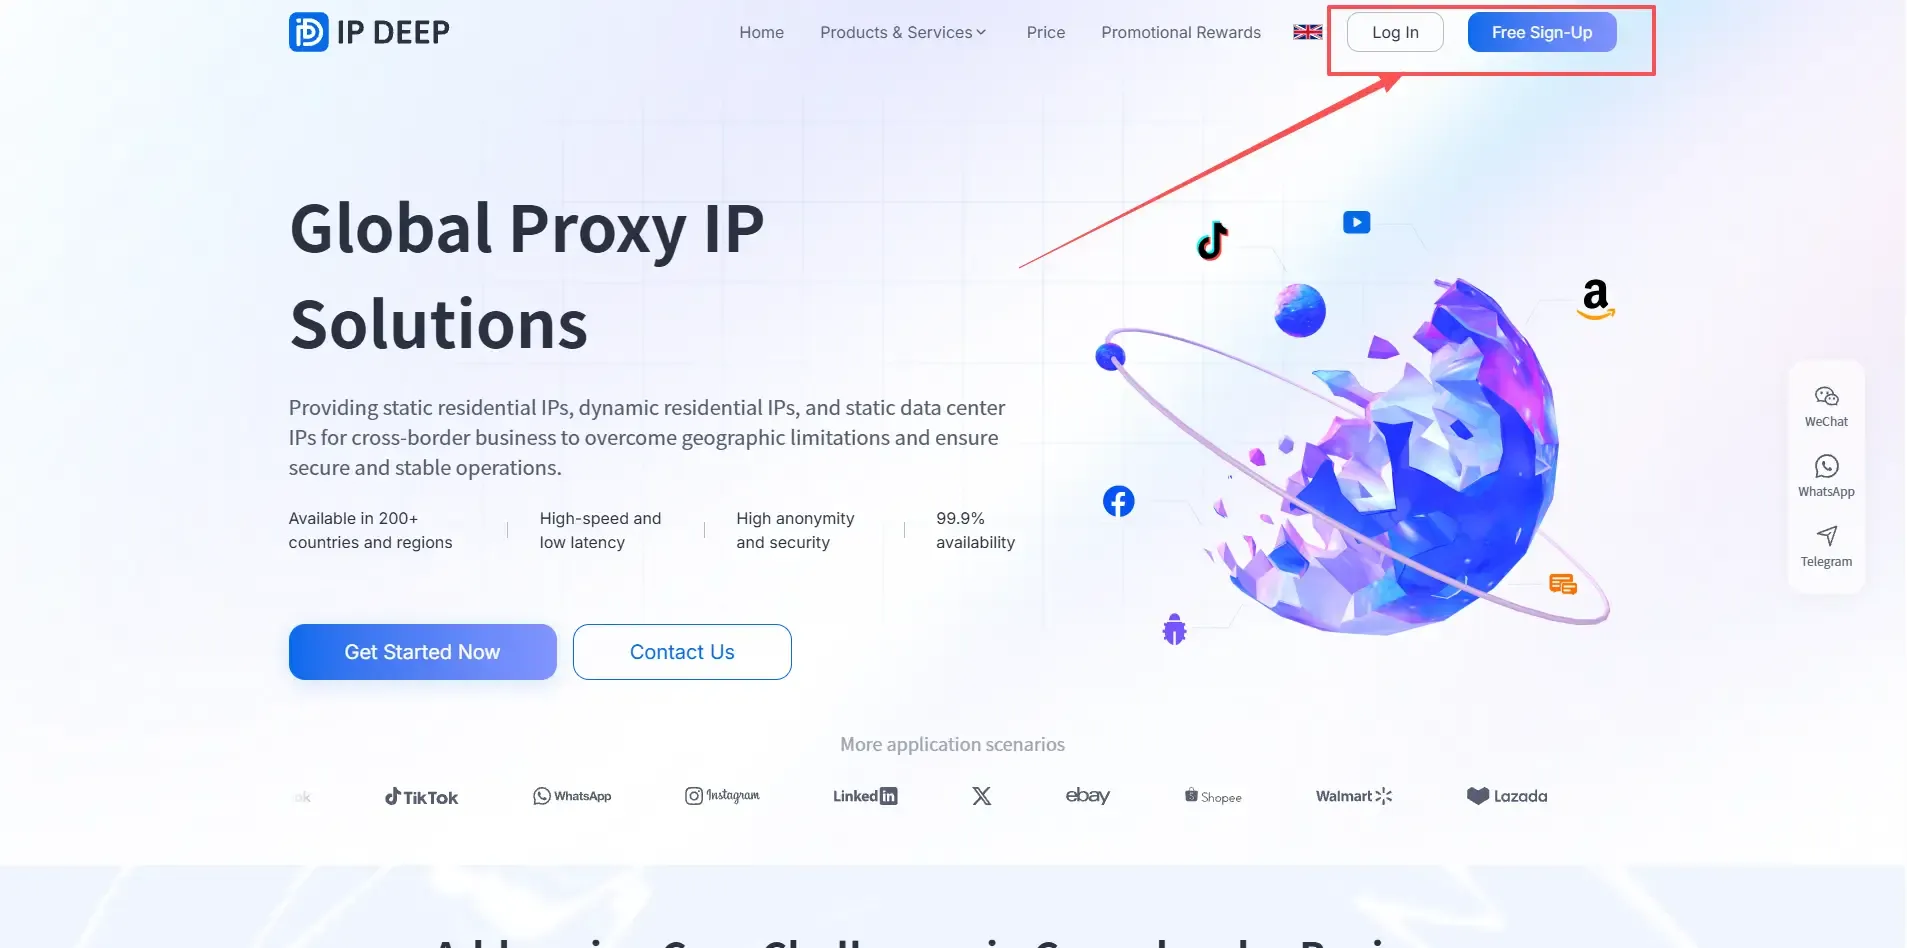
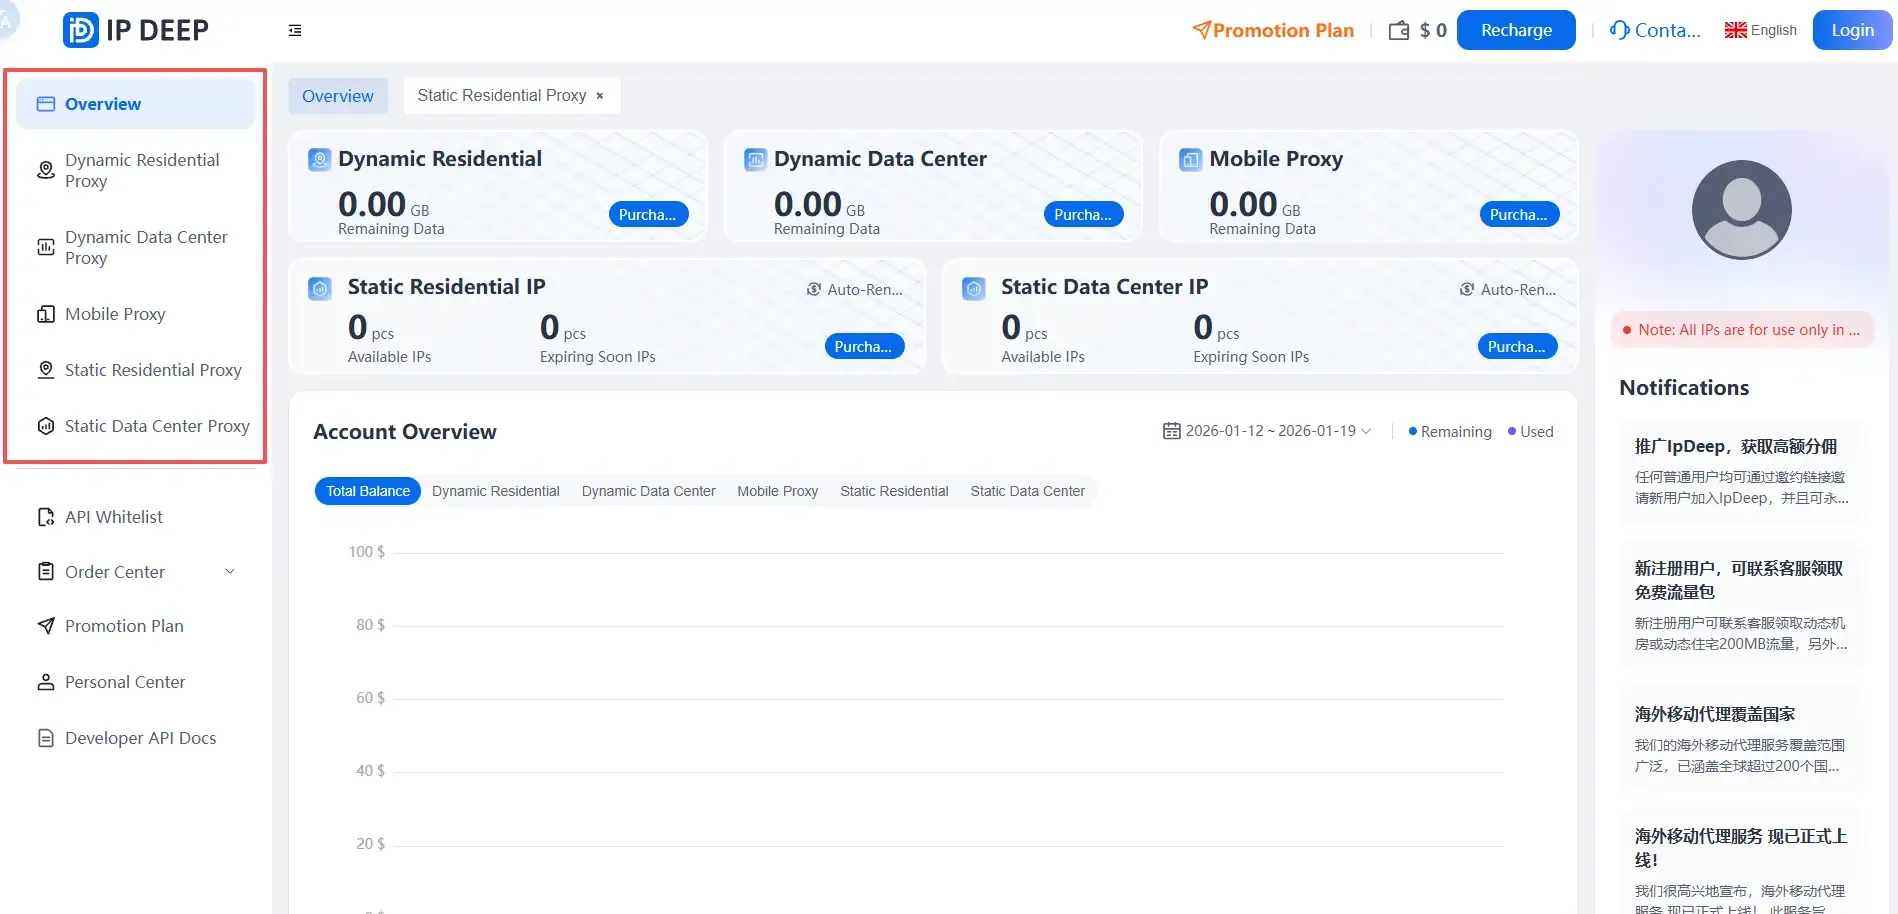
1. Register and Log In to the IPDEEP Platform
Visit the official IPDEEP website, complete the registration process, and log in to your account. New users are generally eligible for free trial traffic or testing opportunities. It is recommended to test IP stability before purchasing a long-term subscription.
2. Select the Right Proxy IP Type Based on Business Needs
Choose the proxy type according to your specific business requirements:
• Static Proxy IP: Fixed IP address for extended periods, ideal for store accounts and primary social media accounts
• Dynamic Proxy IP: Automatically rotates IP addresses at regular intervals, suitable for batch operations and data scraping tasks
• Mobile Proxy IP: Mimics real mobile user network environments, offering better compatibility with platform risk control systems
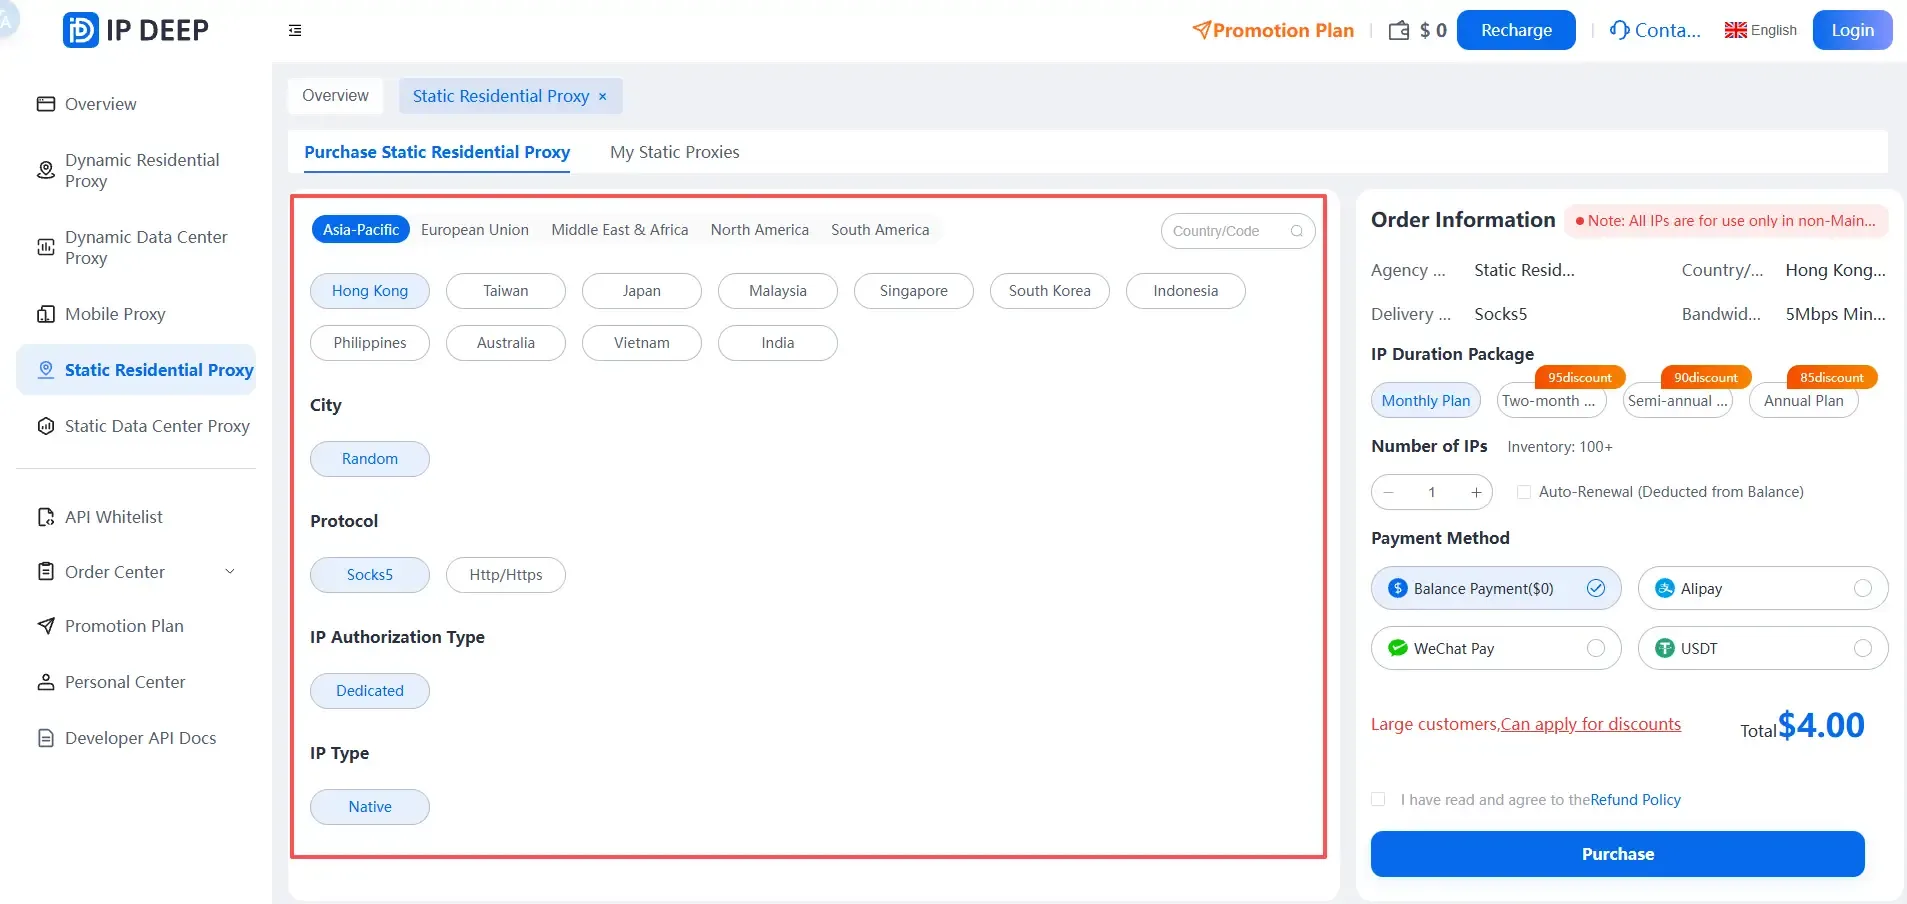
For the purpose of this tutorial, we will use Static Proxy IP as the example.
3. Choose Country/Region and Complete the Purchase
Select the corresponding country or city based on the target platform's operational region.
It is advisable to follow this golden rule: Keep account registration location, IP region, language, and time zone consistent. This aligns with the platform's risk control logic and minimizes detection risks.
4. Obtain Proxy IP [Host:Port:Username:Password]
![Obtain proxy IP [Host:Port:Username:Password]](https://ipdeepblog-new.oss-cn-shenzhen.aliyuncs.com/article/4_b170796934.webp)
II. Bind to AdsPower Fingerprint Browser
Once you have obtained the proxy IP, you can proceed to bind it to the fingerprint browser.
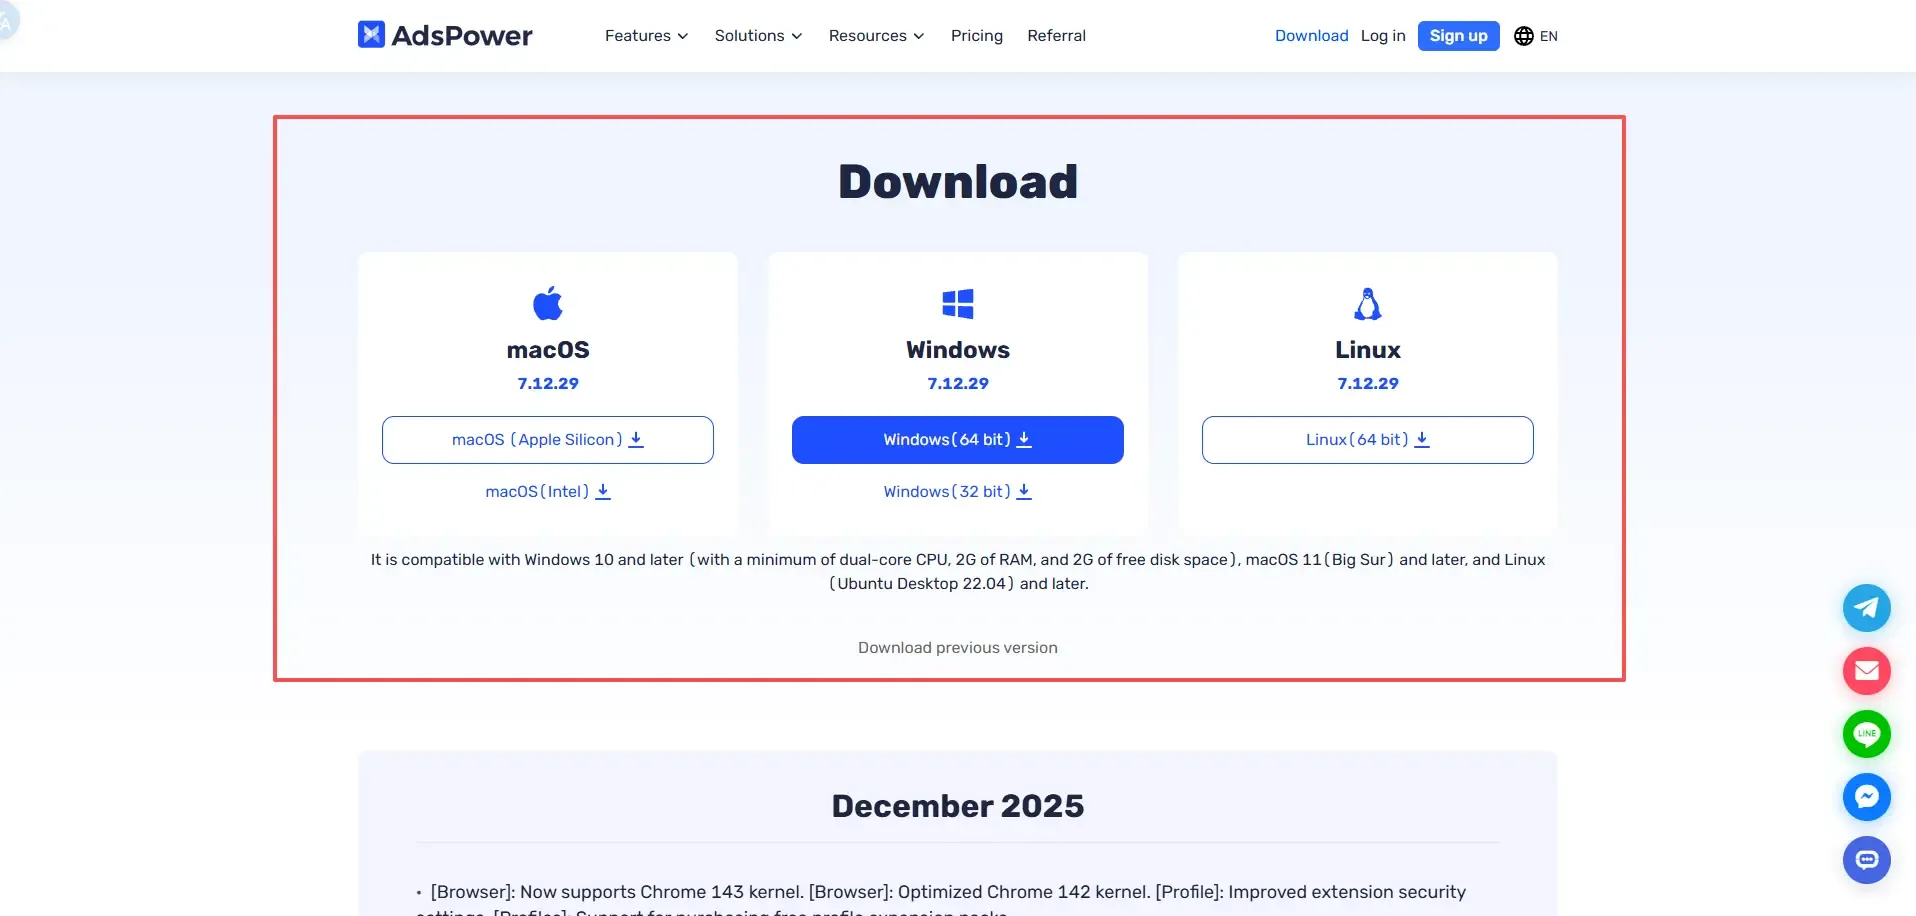
1. Install and Log In to AdsPower
Go to the official AdsPower website, download and install the client application, then complete account registration and login.
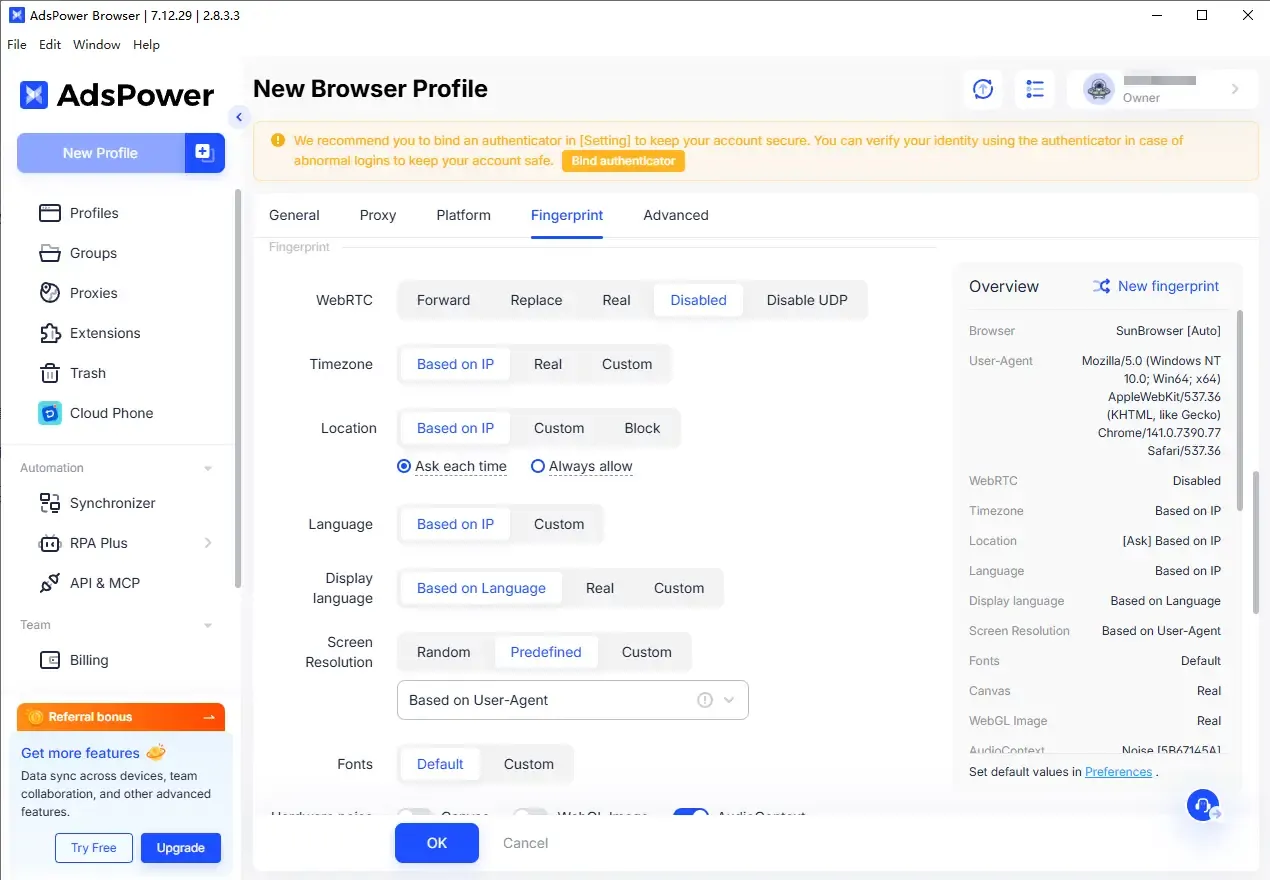
2. Create a Browser Profile
Launch AdsPower and click "Create New Browser Profile". Configure the following parameters based on your needs:
• Browser type (Chromium / Firefox, etc.)
• Operating system (Windows / macOS)
• User-Agent
• Time zone, language, and screen resolution
It is recommended to enable the "Auto-match time zone and language via proxy" feature to reduce the risk of environment inconsistency.
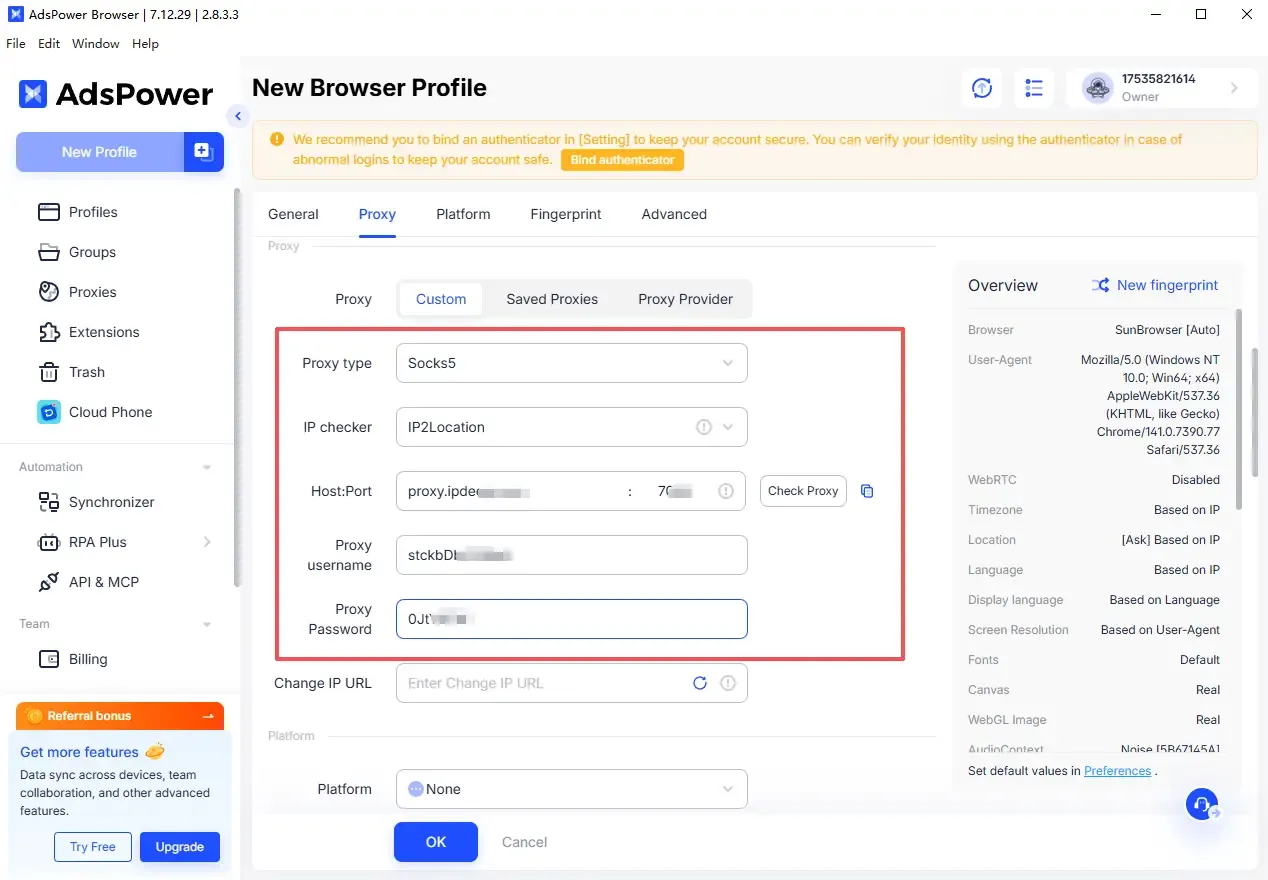
3. Configure Proxy IP
In the "Proxy Settings" section:
• Select proxy type: HTTP / HTTPS / SOCKS5 (based on the type provided by IPDEEP)
• Enter proxy host, port, username, and password
• Click "Validate Proxy" or "Test Connection"
A successful connection notification indicates that the proxy IP is ready for use.
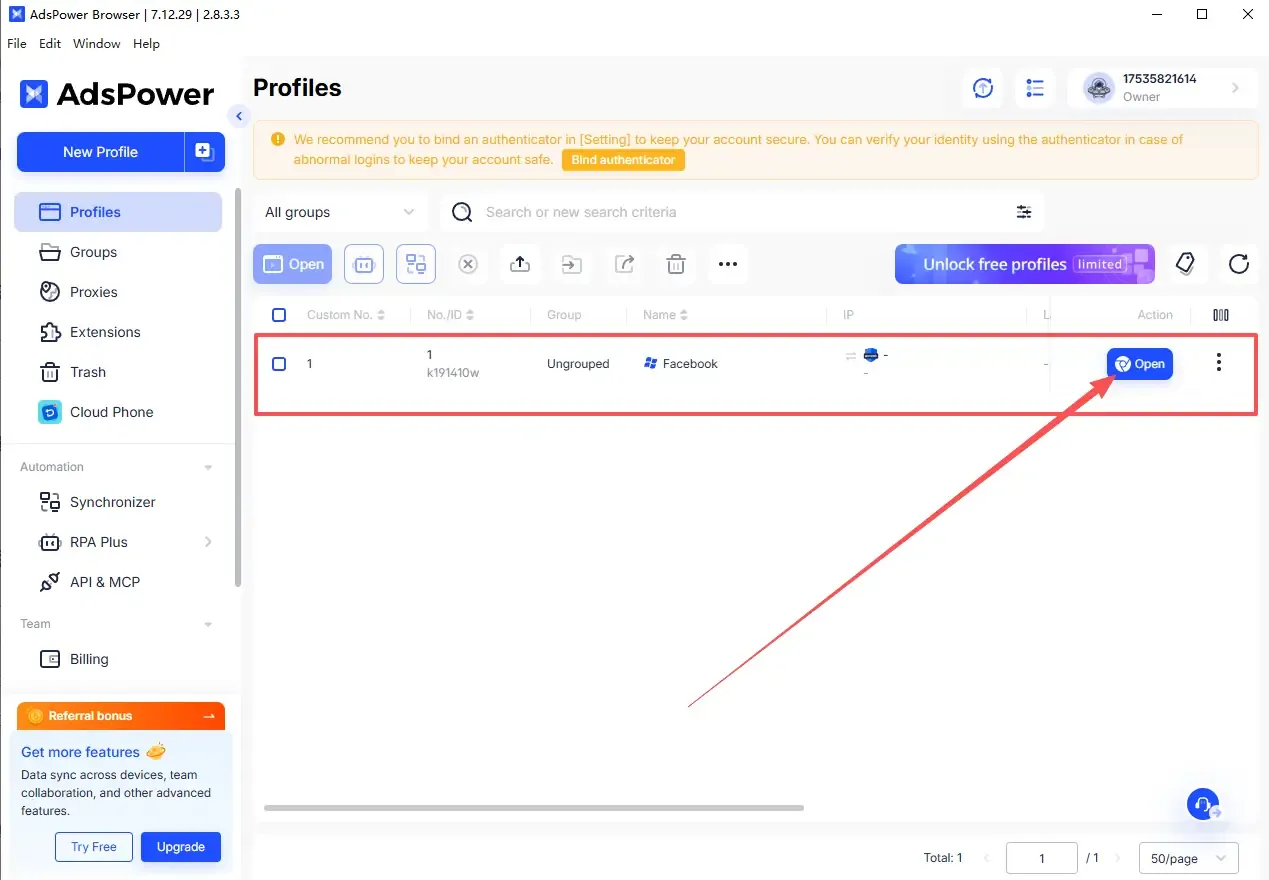
4. Save and Launch the Browser Profile
Confirm all configurations are correct, save the profile, and launch the browser.
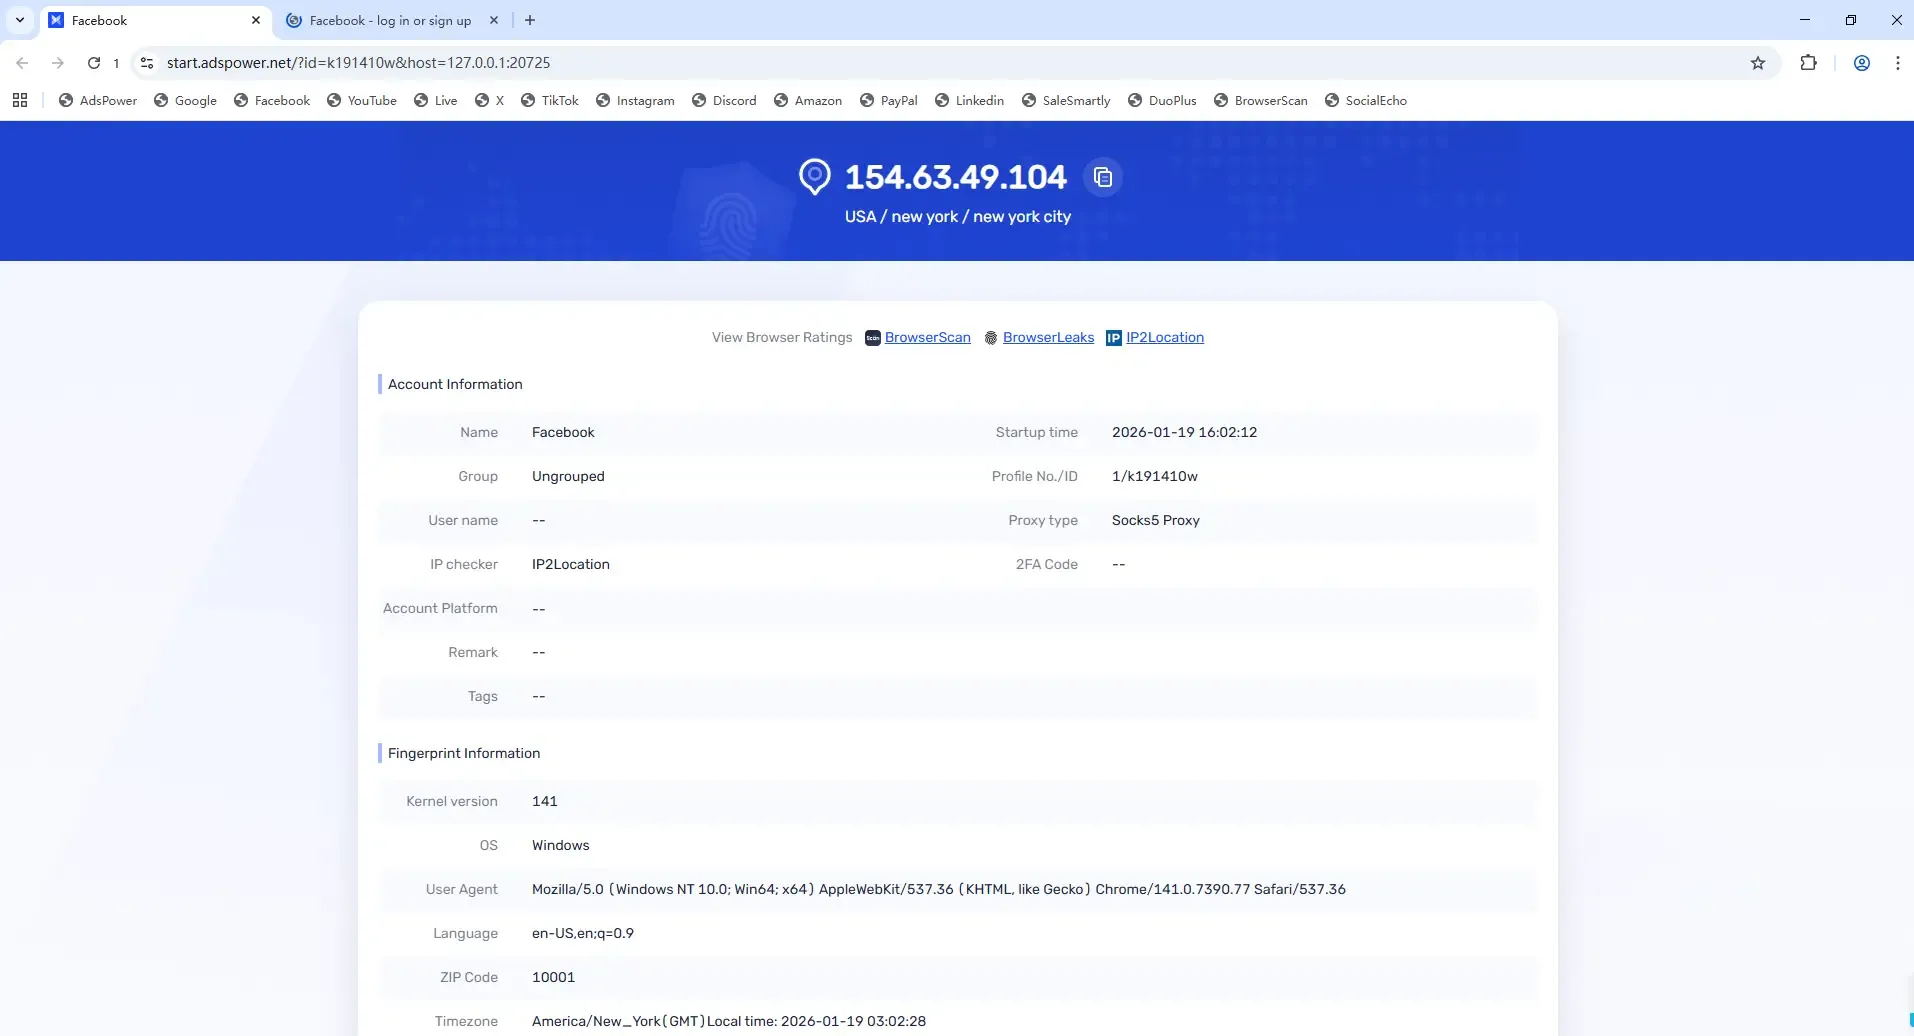
After launching, visit an IP check website to verify your current IP address and region.
5. Verify the Binding Status
If the displayed IP address, country, and city match the information in your IPDEEP account backend, it means that IPDEEP proxy IP has been successfully bound to AdsPower Fingerprint Browser.
III. Key Considerations During Usage
To minimize the risk of account restrictions, please adhere to the following guidelines:
• Assign one dedicated proxy IP to each browser profile and avoid frequent IP switching
• Do not use multiple proxy IPs in the same browser profile
• Regularly use fingerprint detection tools to check for DNS and WebRTC leaks
IV. Conclusion
Binding IPDEEP proxy IP to AdsPower Fingerprint Browser essentially isolates network identity from browser fingerprint environment. With stable proxies and proper fingerprint configuration, you can significantly reduce the risk of multi-account association and suspension.
V. Frequently Asked Questions (FAQ)
1. Can I continue using an existing browser profile after changing the proxy IP?
Yes, but proceed with caution. For long-term operational accounts, it is recommended to create a new browser profile and bind the new proxy IP to avoid conflicts between fingerprint data and historical network information.
2. Do I need to perform additional fingerprint checks after binding IPDEEP proxy IP?
It is highly recommended. Even if the proxy IP functions properly, browser fingerprint anomalies may still occur. After creating the profile, run a check using the ToDetect fingerprint testing tool.
3. Can I bind multiple IPDEEP proxy IPs to a single AdsPower browser profile?
This practice is not recommended. In multi-account operation scenarios, each browser profile should be paired with a fixed proxy IP for the long term. Frequent IP changes can easily trigger platform risk control, especially for static proxy IPs, which are best suited for the "one profile, one IP" model.