
MuLogin Fingerprint Browser Configuration IPDEEP Proxy IP Tutorial
All proxy products of the IPDEEP platform need to be used in an overseas network environment, which is configured by the customer.
The network environment involved in this tutorial has achieved overseas environment configuration.
1. IPDEEP Proxy Settings
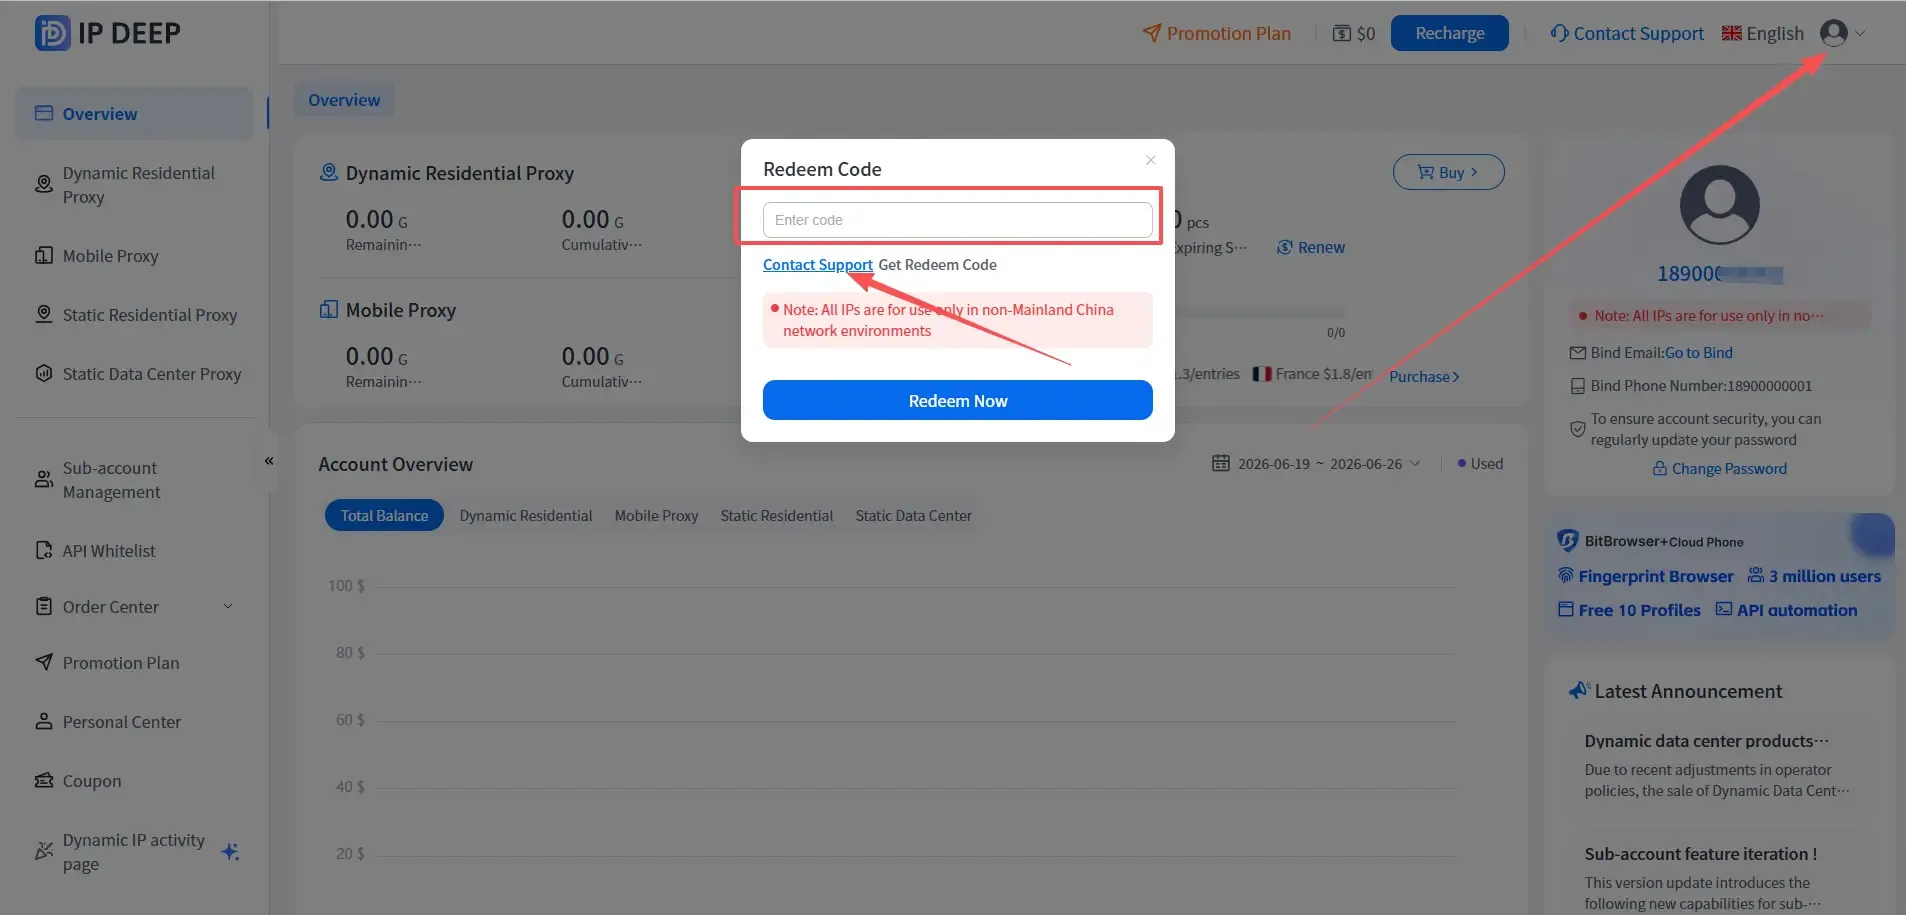
1. After registering as a IPDEEP user, log in, click on the avatar in the upper right corner, click on the exchange code, and enter the exchange code to receive 200MB of trial traffic.

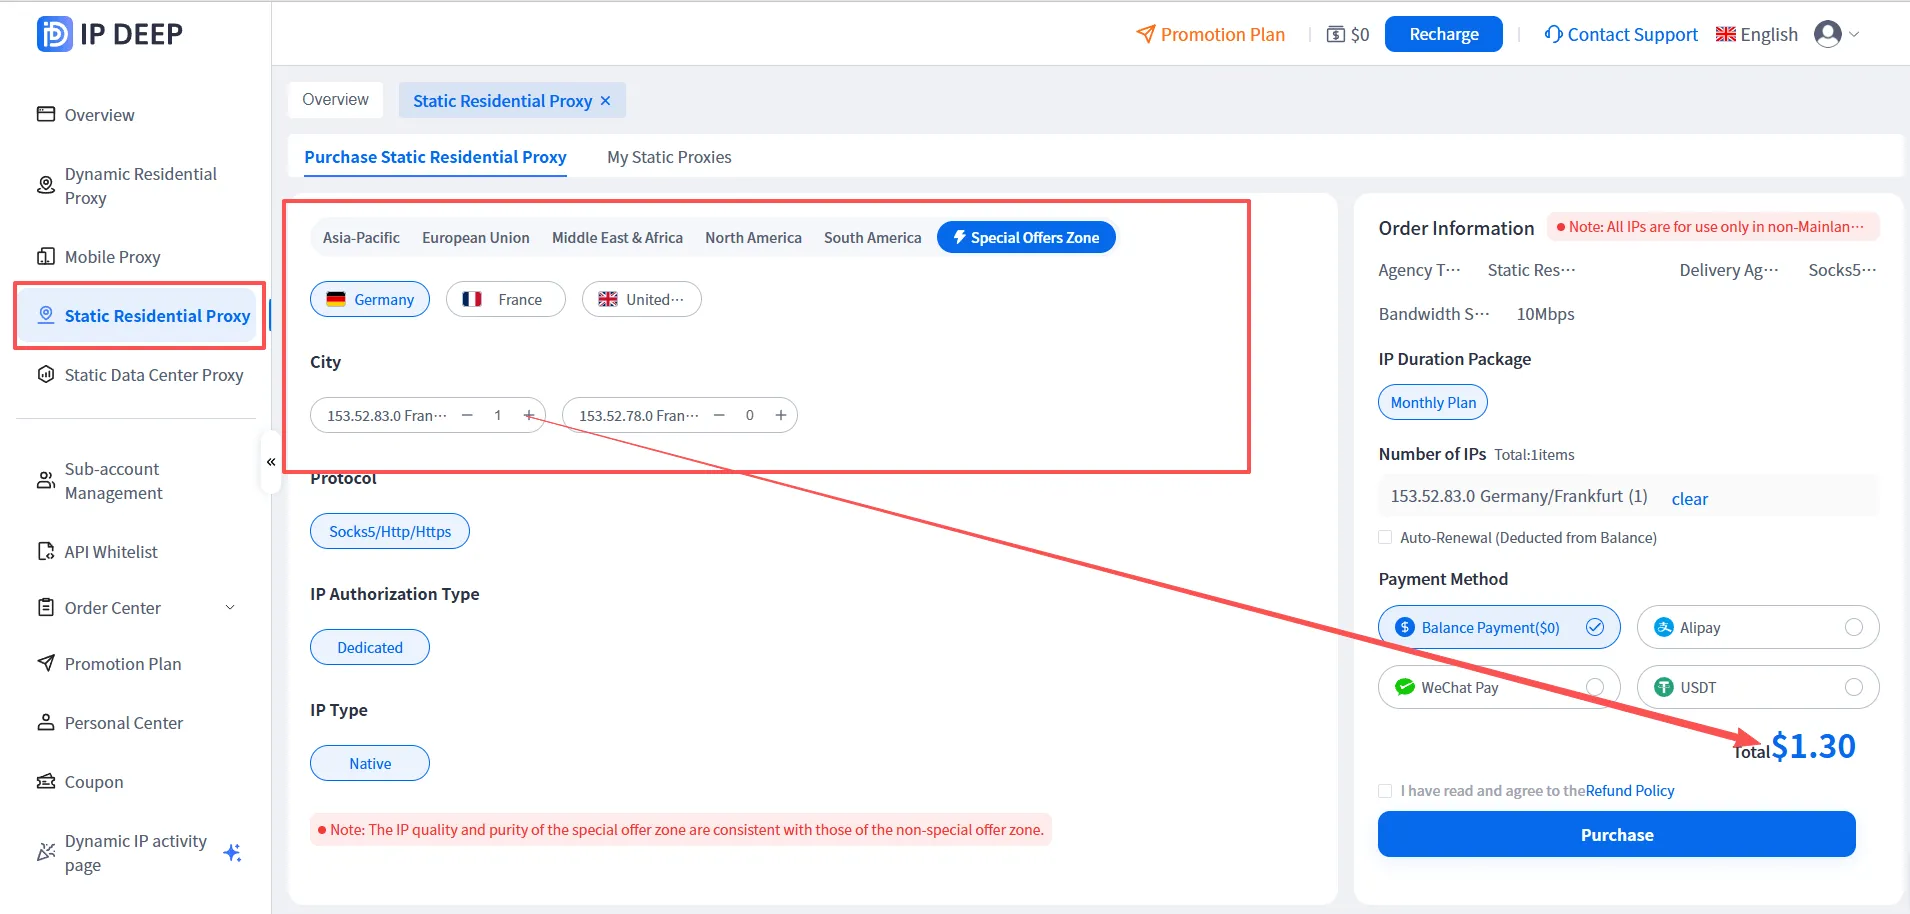
2. Choose the type of IP that suits you, taking static residential IP as an example (special price for static IP launched, as low as $1.3/month)
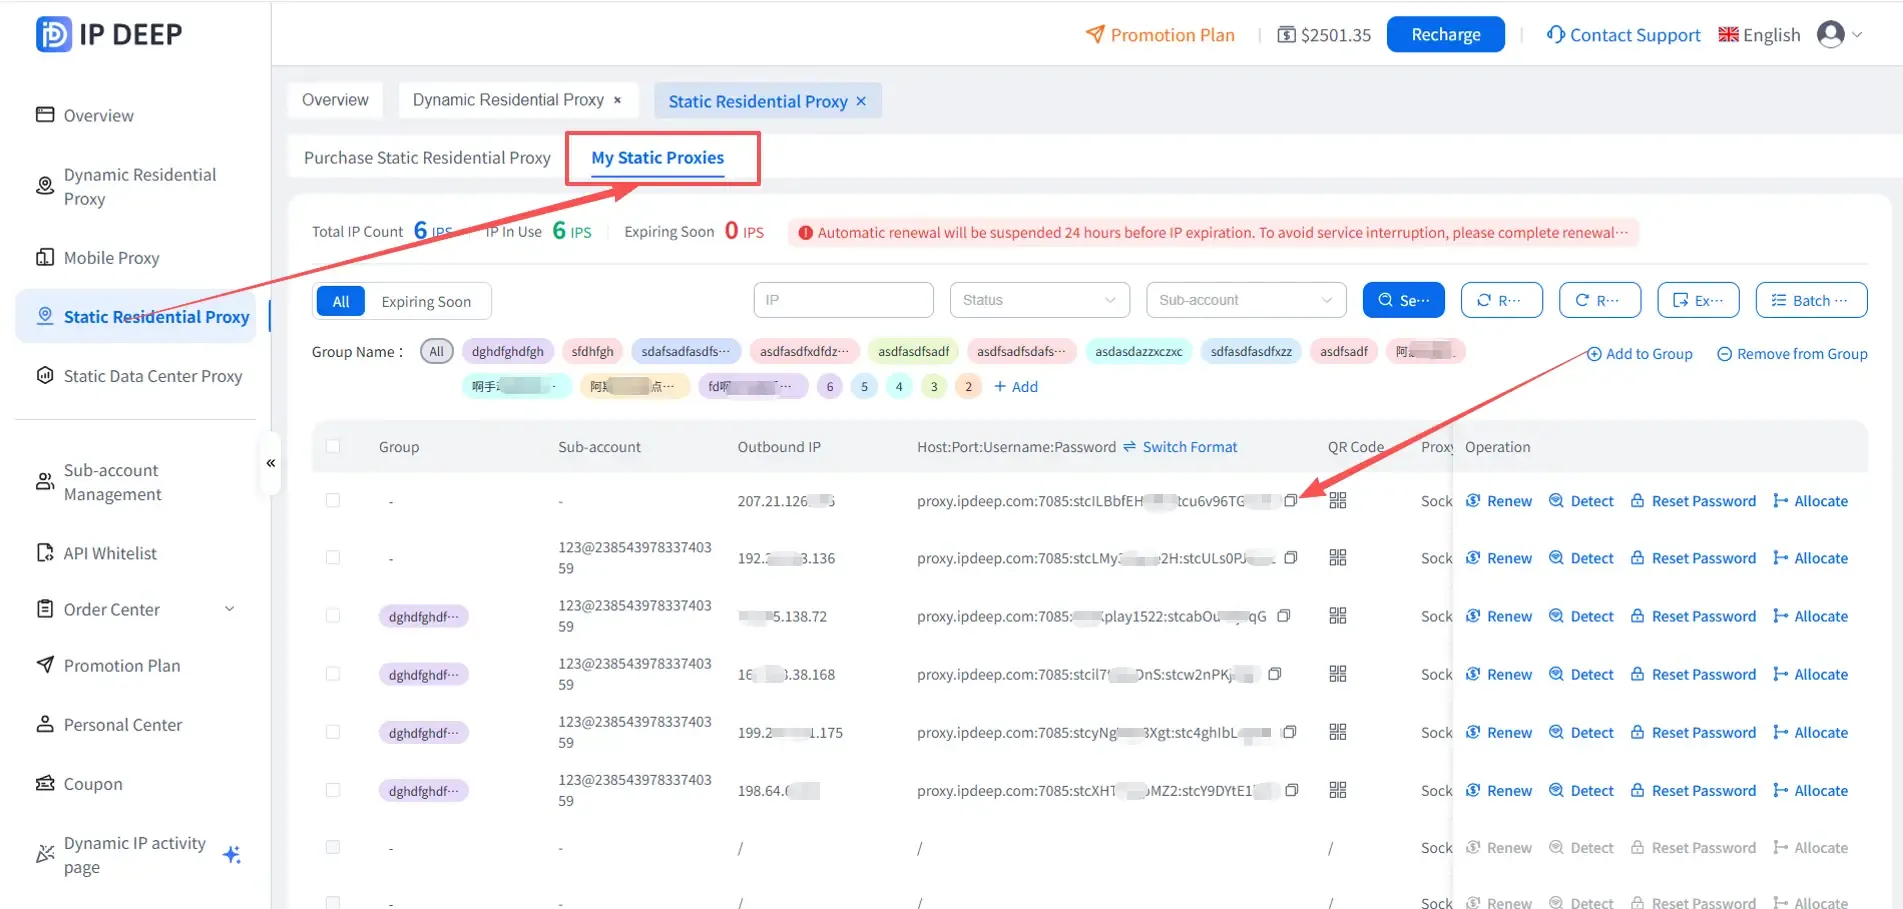
3. After clicking purchase, click on 【Purchased Static Residential Proxy】 to see the information of the proxy IP you purchased
2. MuLogin Fingerprint Browser Configuration
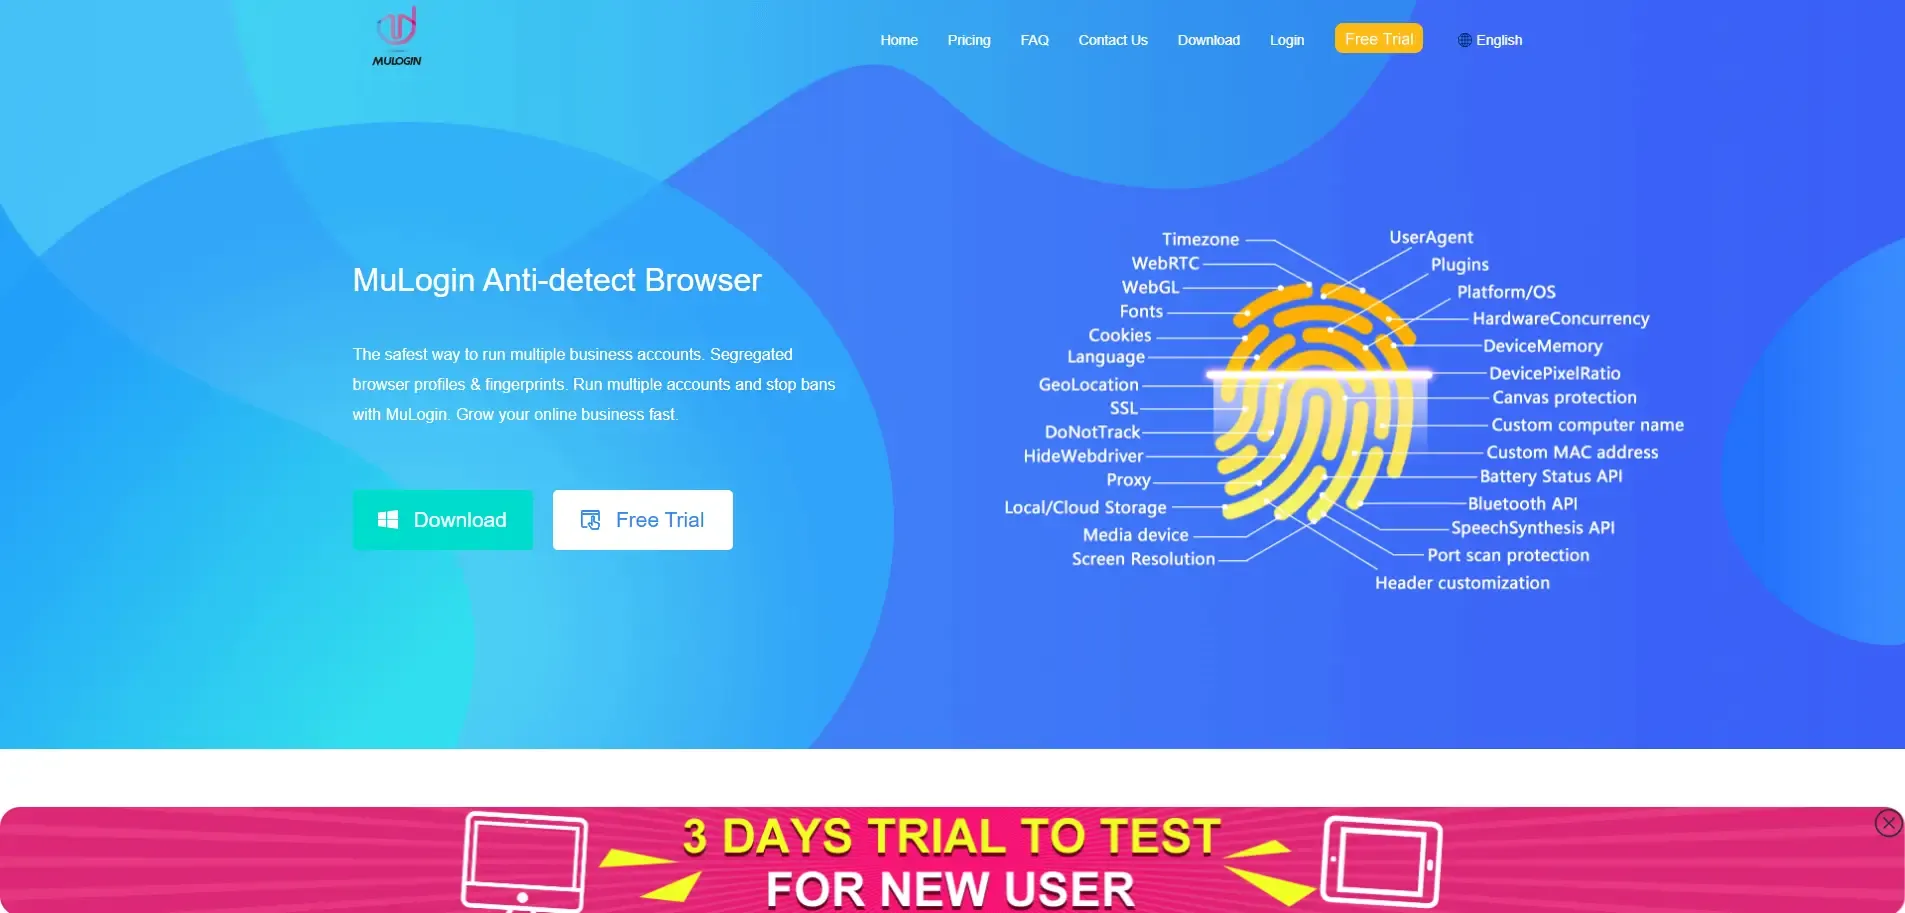
1. Go to MuLogin official website to register and download the software
Note: MuLogin browser supports free trial: https://www.mulogin.com/?ref=ipdeep
2. After installing the MuLogin client, click on the browser list - add browser, open the pop-up window to configure the browser and proxy information, and after completion, click to check the network to verify the proxy connection status. If successful, click save. The specific steps are as follows:
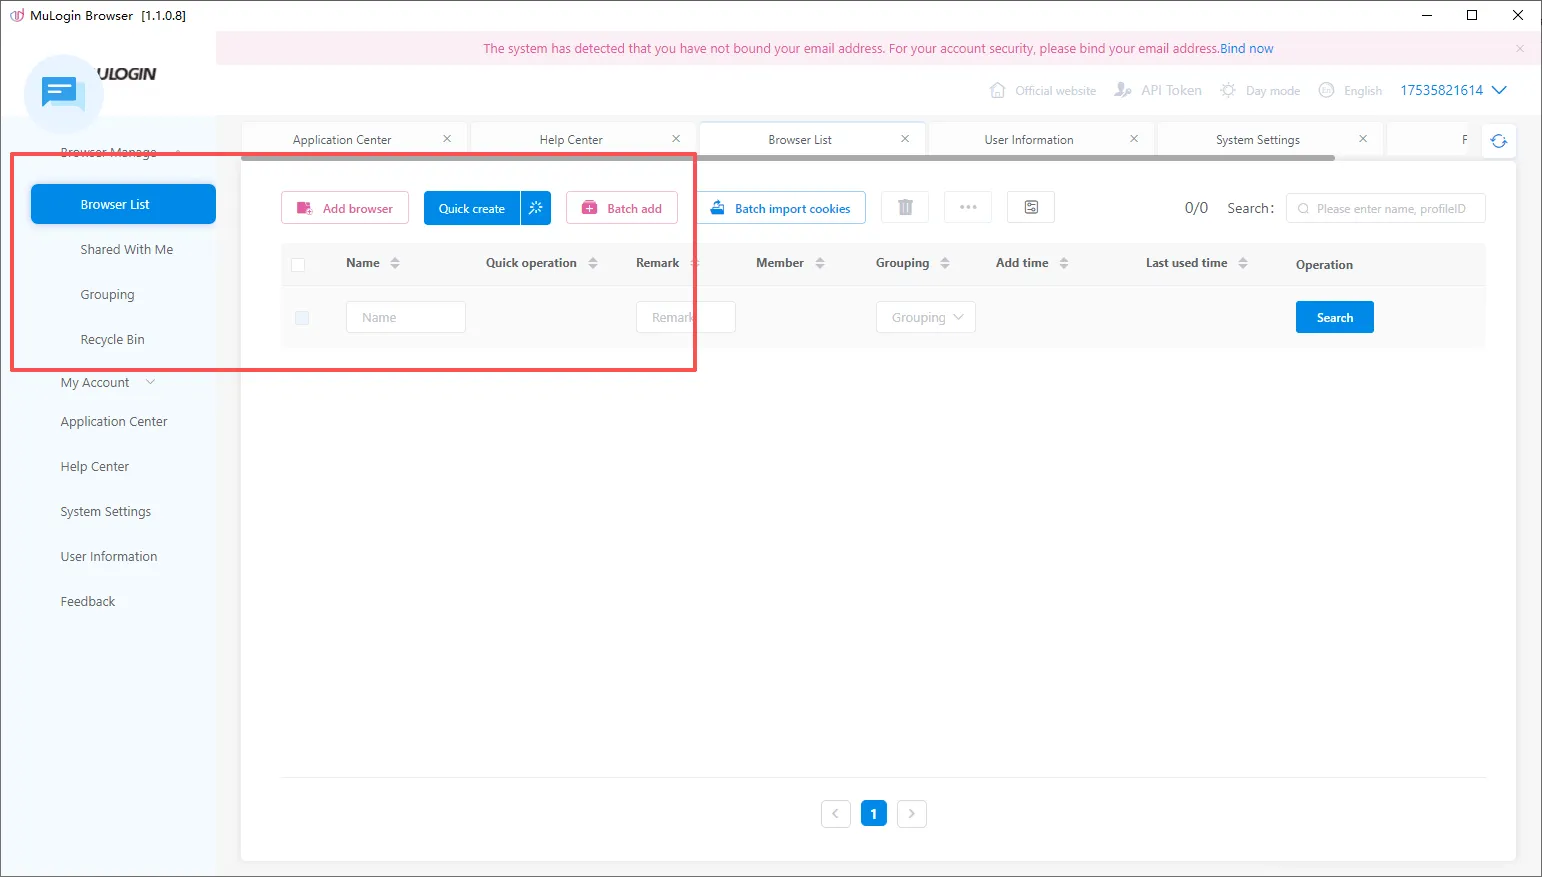
2.1 Open the Mulogin client, click the "Add Browser" button in the "Browser List" or the "Quick Create" button to create a browser.
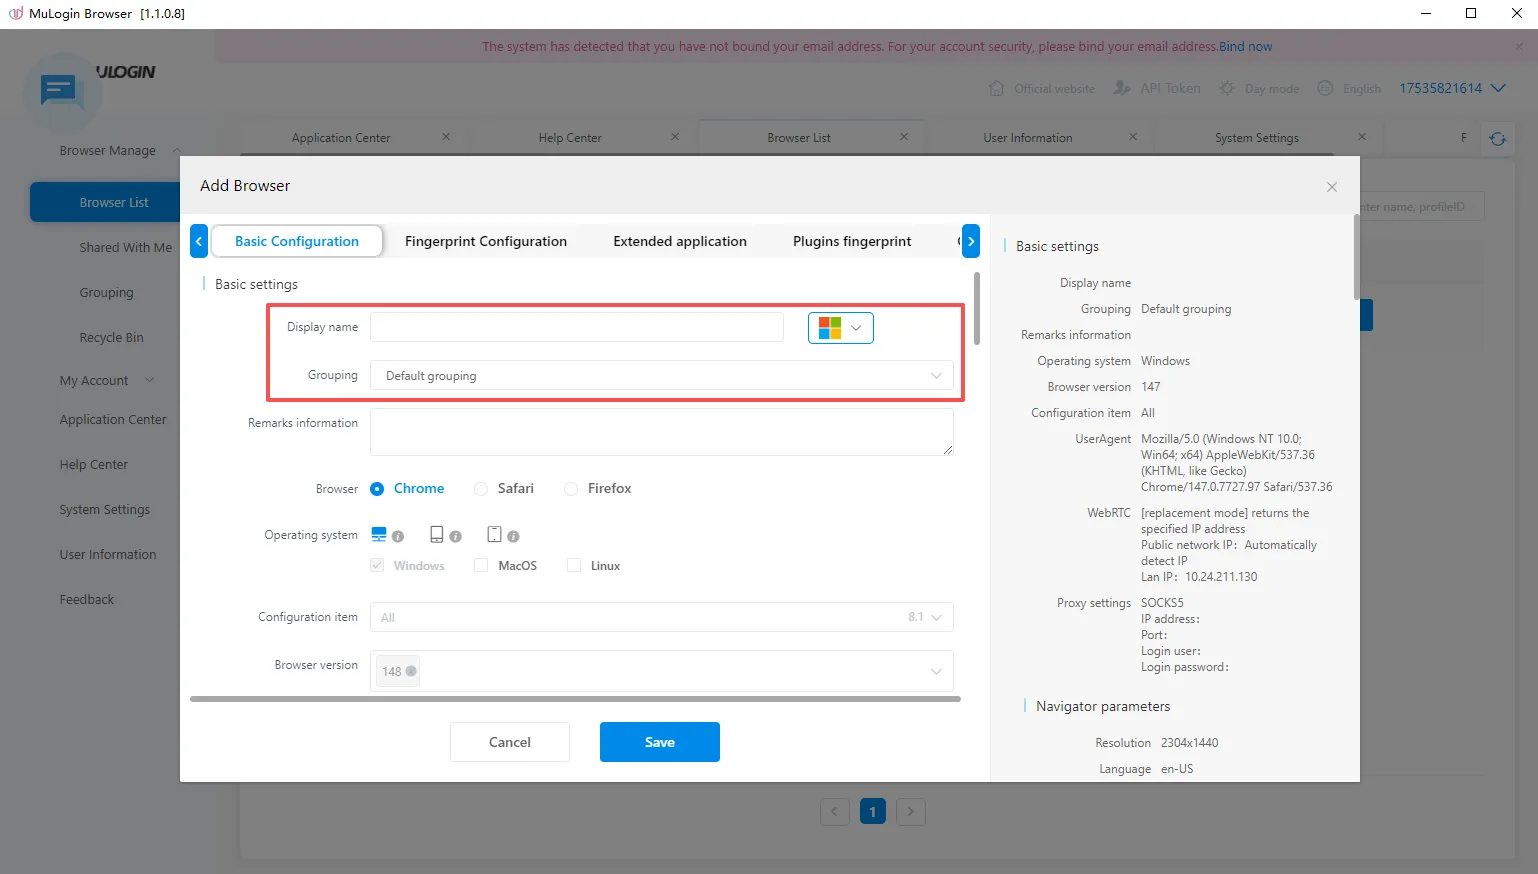
2.2 Click to add a browser, fill in the name
2.3 In the basic configuration, find: Proxy Settings -> Select the protocol corresponding to the IPDEEP purchased proxy, fill in your proxy information, or choose to paste the proxy in the format.
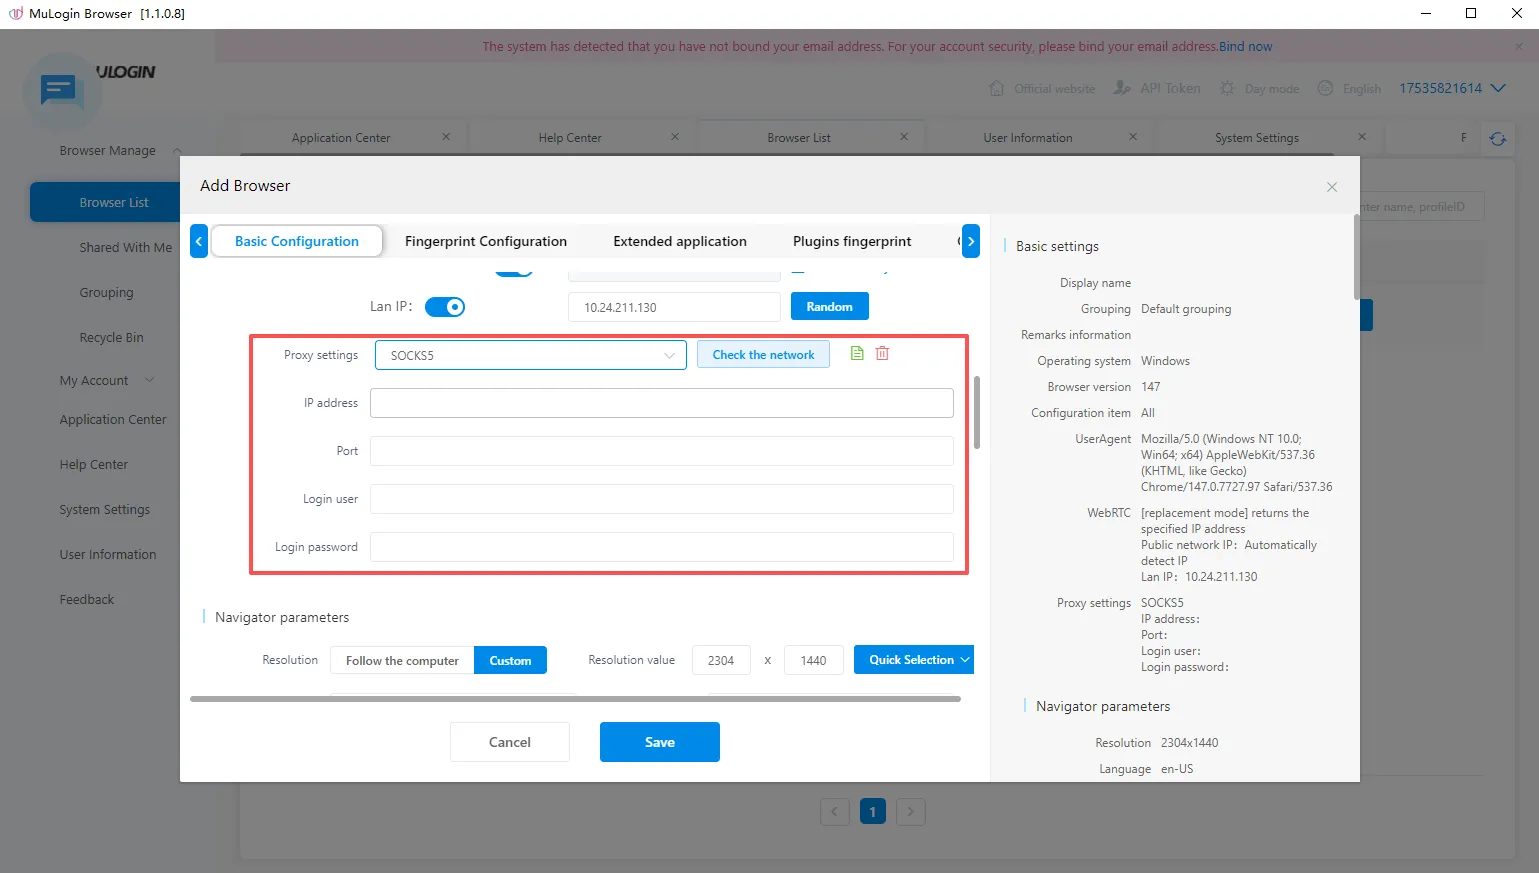
2.4 Fill in the proxy information, check the network, and test the connectivity of the proxy IP.

2.5 Click save, and you can see the configured window in the "Browser List" interface. Click the "Open" button to start using it, and you can use the IPDEEP proxy to access websites!
MuLogin Fingerprint Browser Configuration IPDEEP Proxy IP Usage Tutorial Completed!