How to Configure IPDEEP Proxies in the CosLogin Browser
All IPDEEP proxy services require an overseas network environment. This must be set up by the user.
The network environment used in this tutorial is already configured for overseas access.
一、IPDEEP Proxy Setup
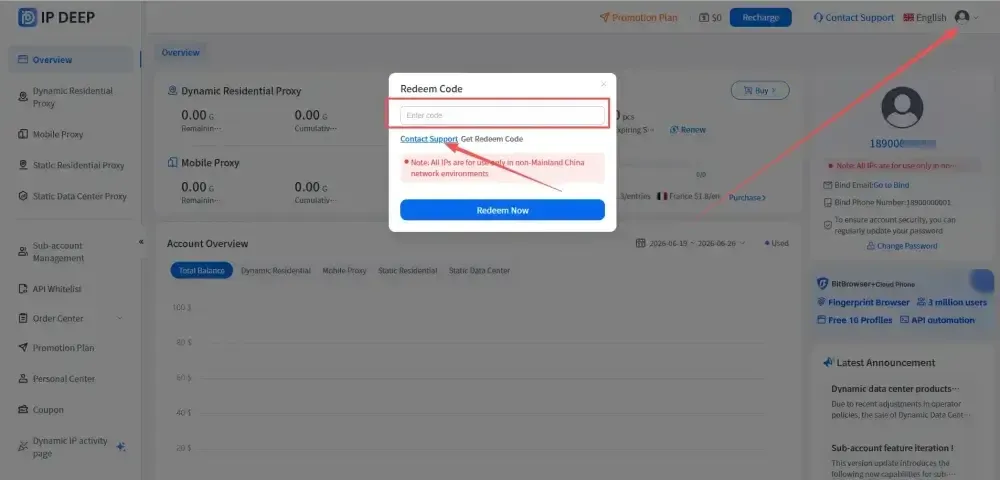
1.After registering and logging in to your IPDEEP account, click on your profile icon in the top-right corner, select “Redeem Code,” and enter your code to receive 200MB of free trial traffic.
2. Choose the type of IP that suits you, taking static residential IP as an example (special price for static IP launched, as low as $1.3/month)
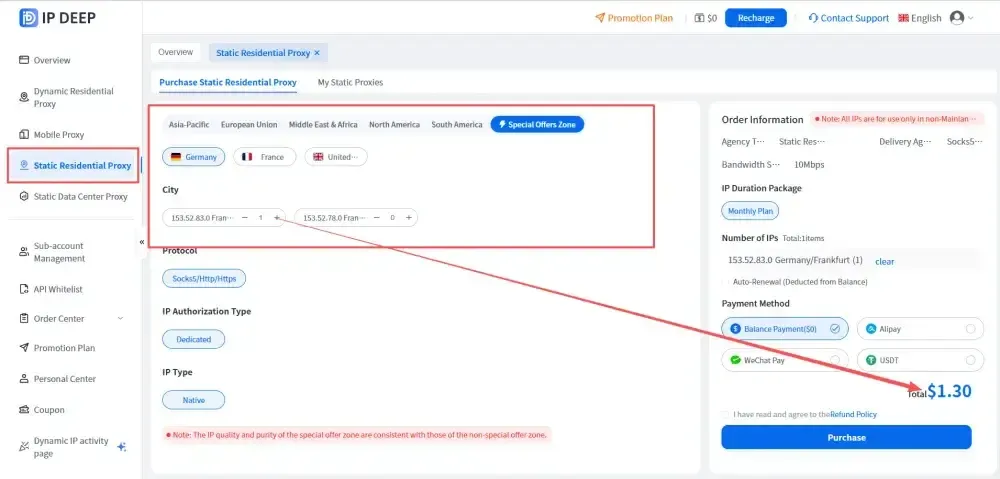
3. After clicking purchase, click on 【Purchased Static Residential Proxy】 to see the information of the proxy IP you purchased

二、CosLogin Fingerprint Browser Setup
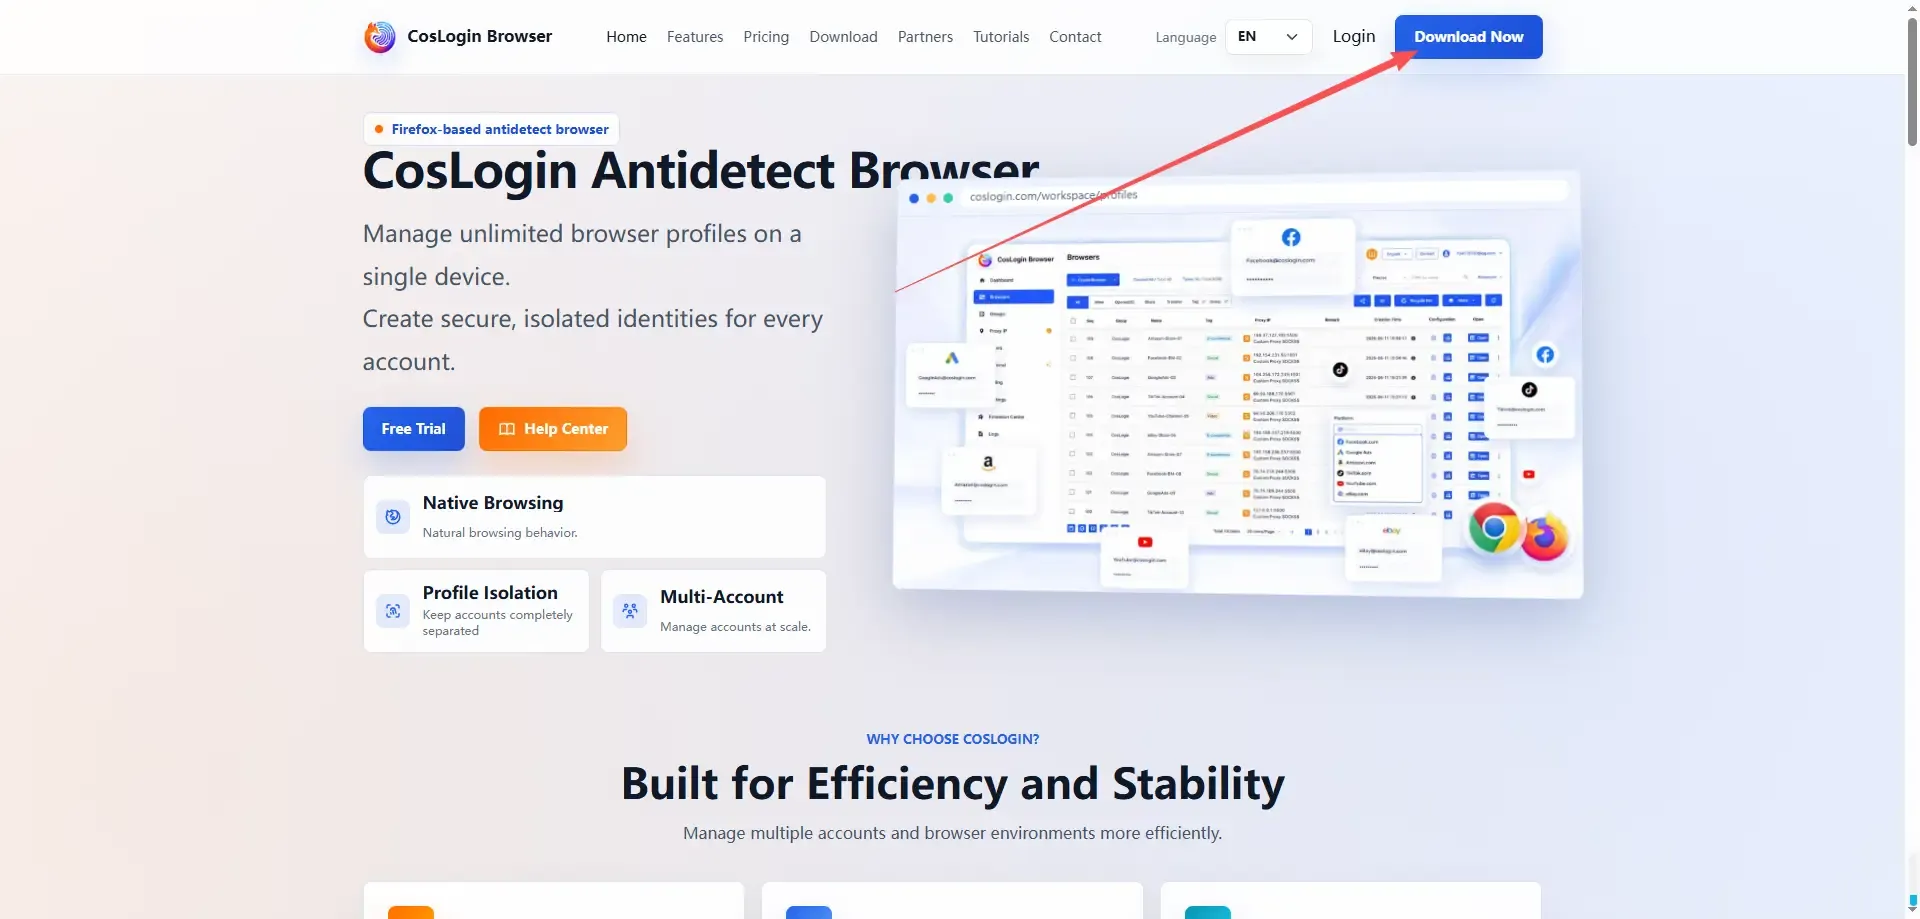
1.Visit the official CosLogin fingerprint browser website and click “Download Now.” 【Free to Use】
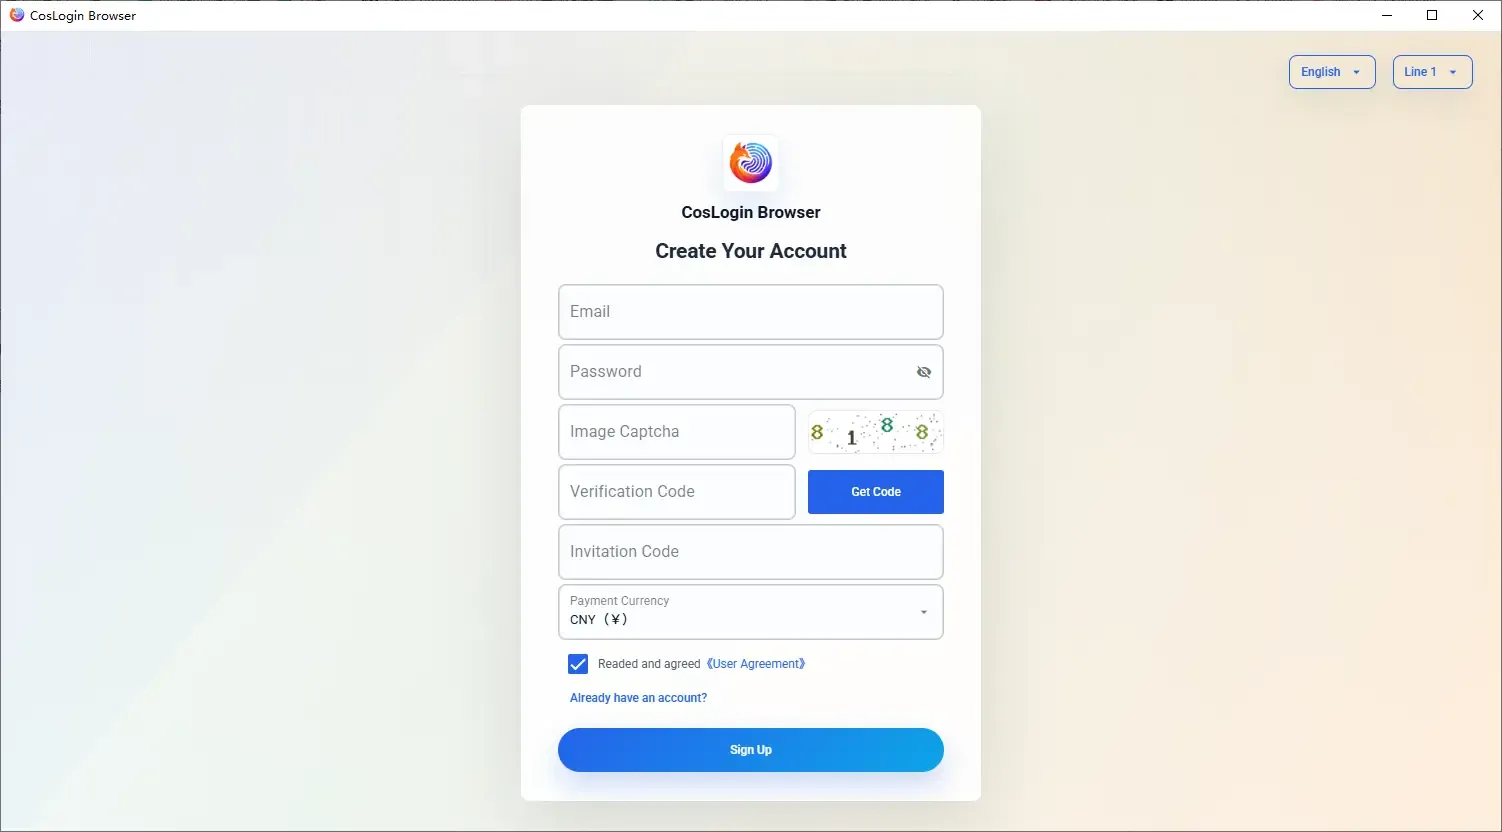
2.After installing the client, sign up and log in to the dashboard.
3. Click on “Browser Window,” then select “Create Window.” In the Proxy Settings, choose SOCKS5 as the proxy type.
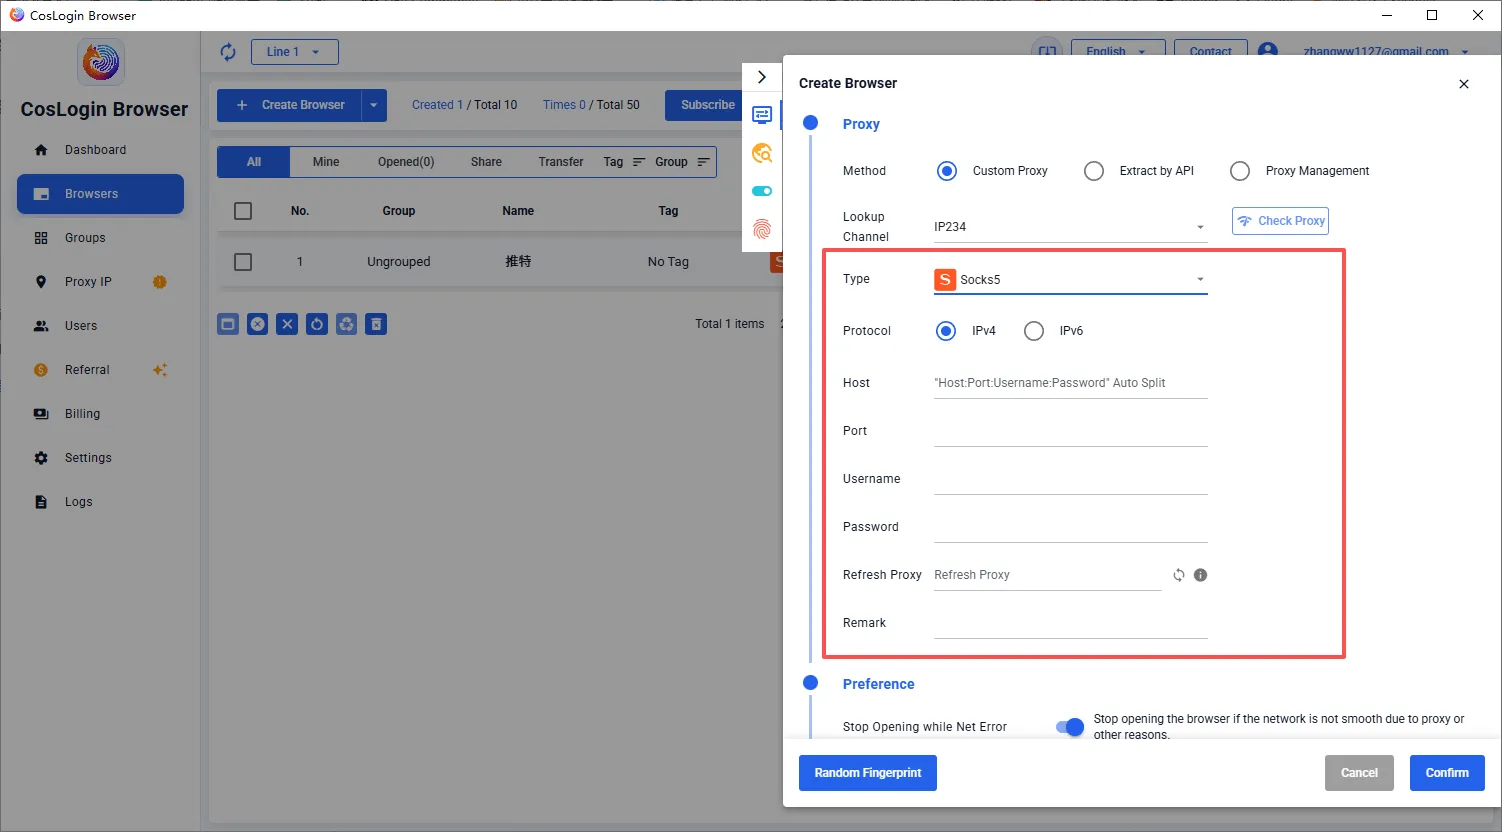
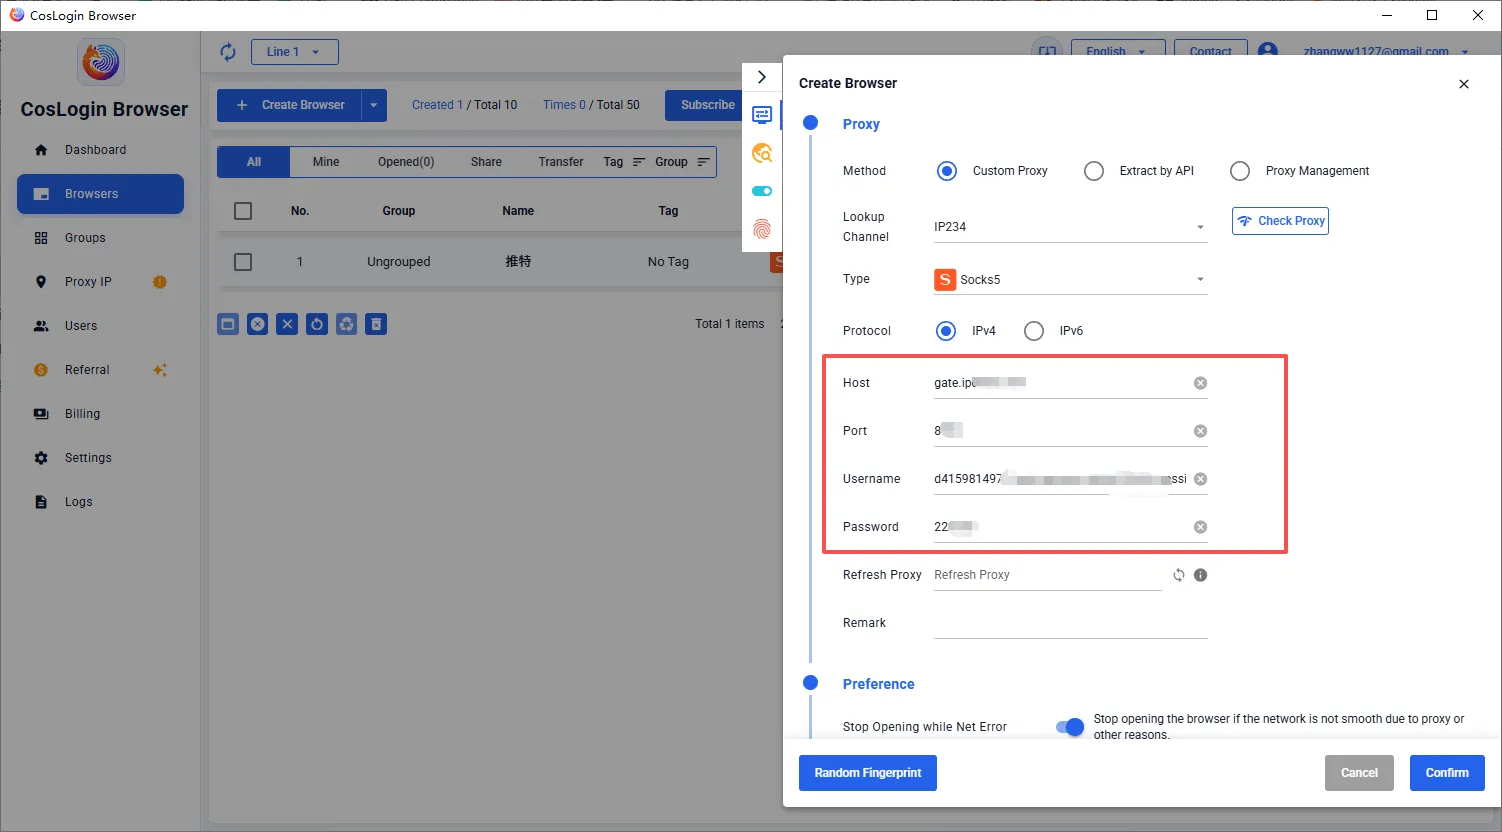
4.Enter the static IP details purchased from IPDEEP in the format: Host:Port:Username:Password, then click “Confirm.”
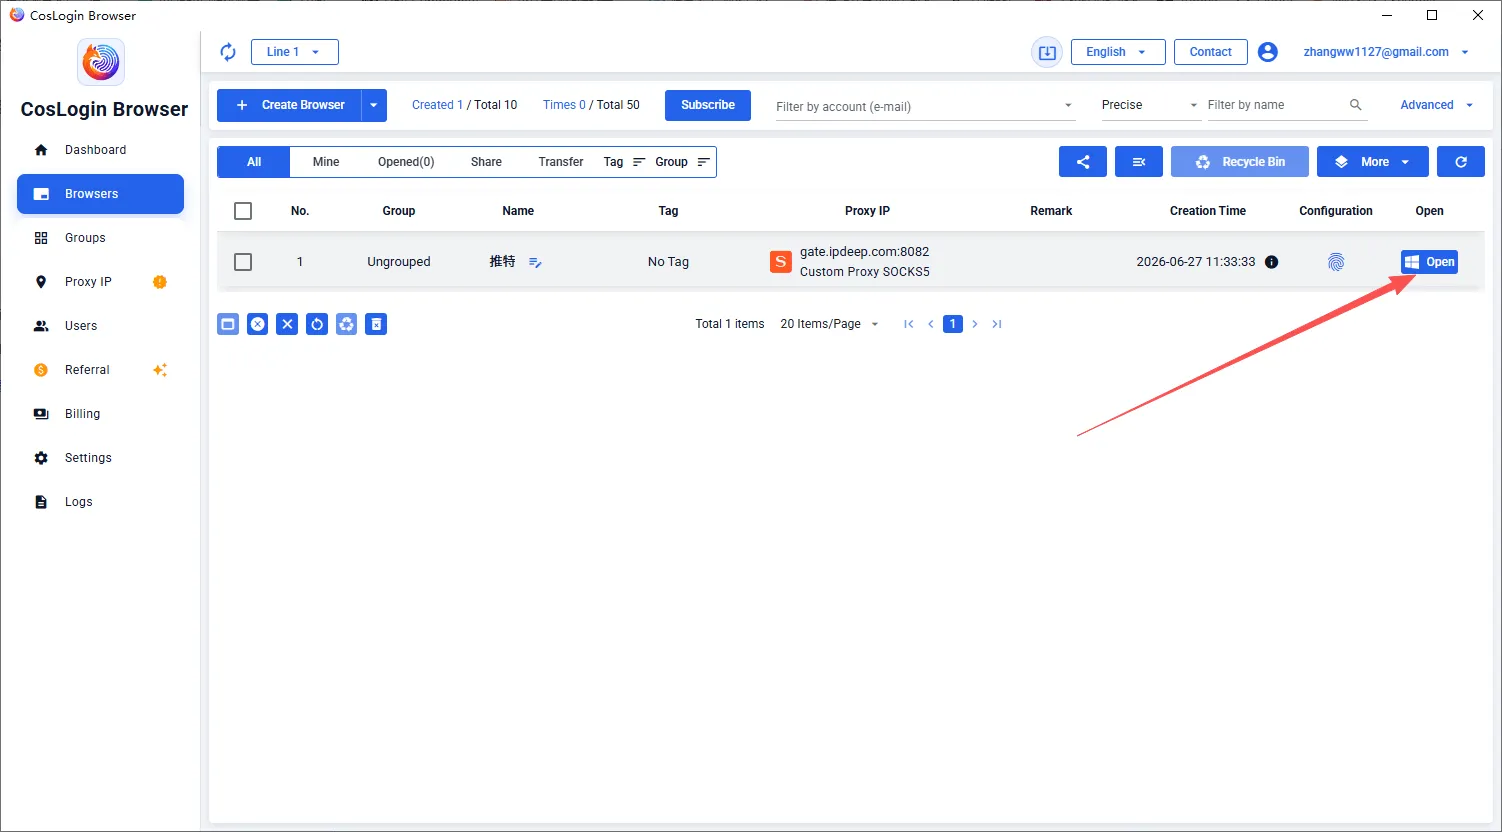
5.Once the browser window is created, click “Open” to start browsing with your IPDEEP proxy.
Setup complete! You’re now ready to use IPDEEP with CosLogin.